This Blog will be showcasing as to what i’ve been up to, and what I’ve learned during the MUS1171 module.
To begin this blog I would like to make clear exactly how the microphones we are capturing sound with are working and the science behind them:
When an object vibrates it will cause the surrounding air molecules to correspond to the objects’ vibration, this in turn forms a change in air pressure which will continue to travel until it runs out of energy (This is why loud sounds can travel further because they hold more energy and vice verse). These fluctuating changes in air pressure will reach our ear drums which will then result in us hearing our own perception of that sound.
This now leads to how microphones work – a microphone is a transducer (technology which converts energy from one form to another, the microphone converts the kinetic energy into an electrical current. The determining factor behind how “good” a microphone is calculated by measuring how accurate the electric signals created during the transducing process are at recreating that sound which was originally made by a physical object.
How Dynamic Microphones Work:
Dynamic microphones are great at capturing more decibels because of their durability unlike other microphones, they are also electromagnetic which means that it uses a magnetic field to generate an electronic signal, the durability of this microphone is determined by the quality of its coil, diaphragm (responds to vibrations in air movement like the ear drum), magnet and wires processing the electrical current (The coil and magnet work in tandem by creating a corresponding electrical signal).

How Condenser Microphones Work:
Condenser microphones are very sensitive microphones which cater towards studio recording rather than live recording like dynamic microphones. This type of microphone will capture a higher fidelity sound because of it’s brilliant design, when sound hits the diaphragm it will proceed to vibrate back and forth onto the backplate which alters the current between both devices resulting in a signal flowing into the microphone. These microphones do not use coils which gives it an advantage above others, it is lighter therefore can vibrate more intensely which delivers high fidelity audio.
The signal that is outputted is the result of the course of movement that diaphragm went through as it was capturing sounds, this process uses a lot of energy in the current which will negatively effect the strength of the current when passing through to the next device. To avoid this issue it is accompanied by the use of phantom power which strengthens the current’s voltage to 48V. With some condenser microphone you will find that they have external power supply which will take advantage of a component known as a tube, tubes in older were known to have a warmer sound.

Practical Sessions:
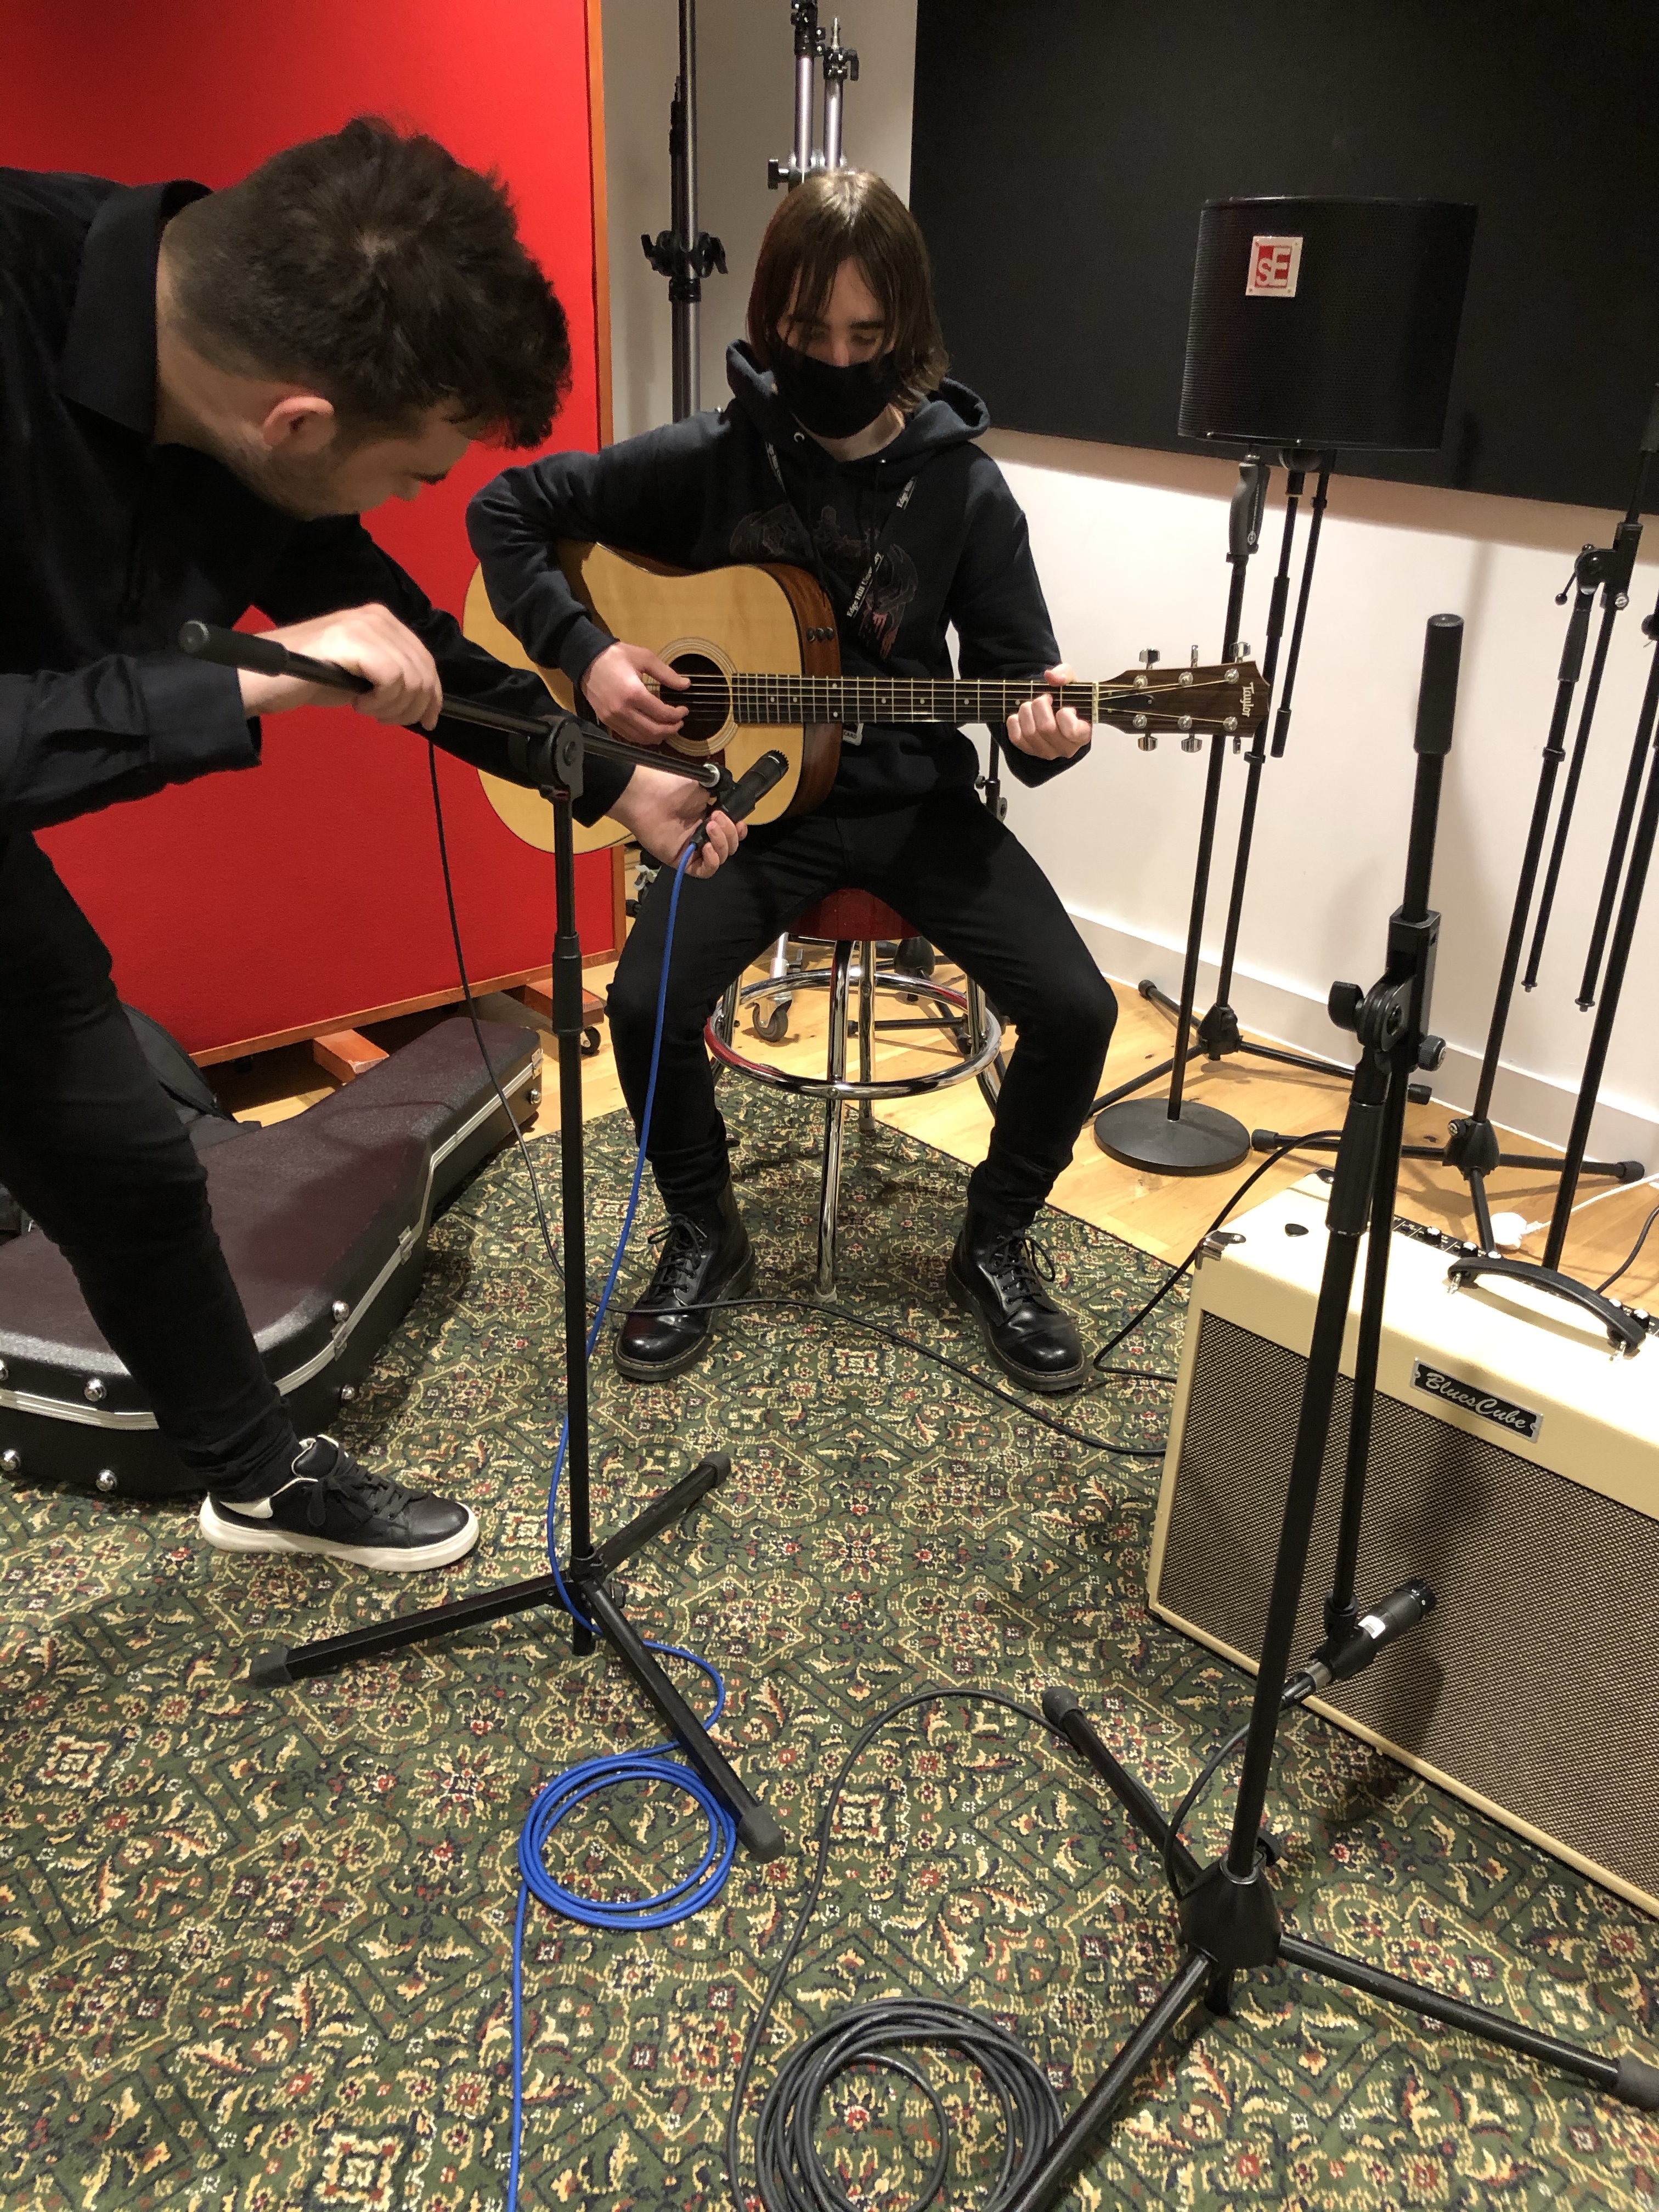
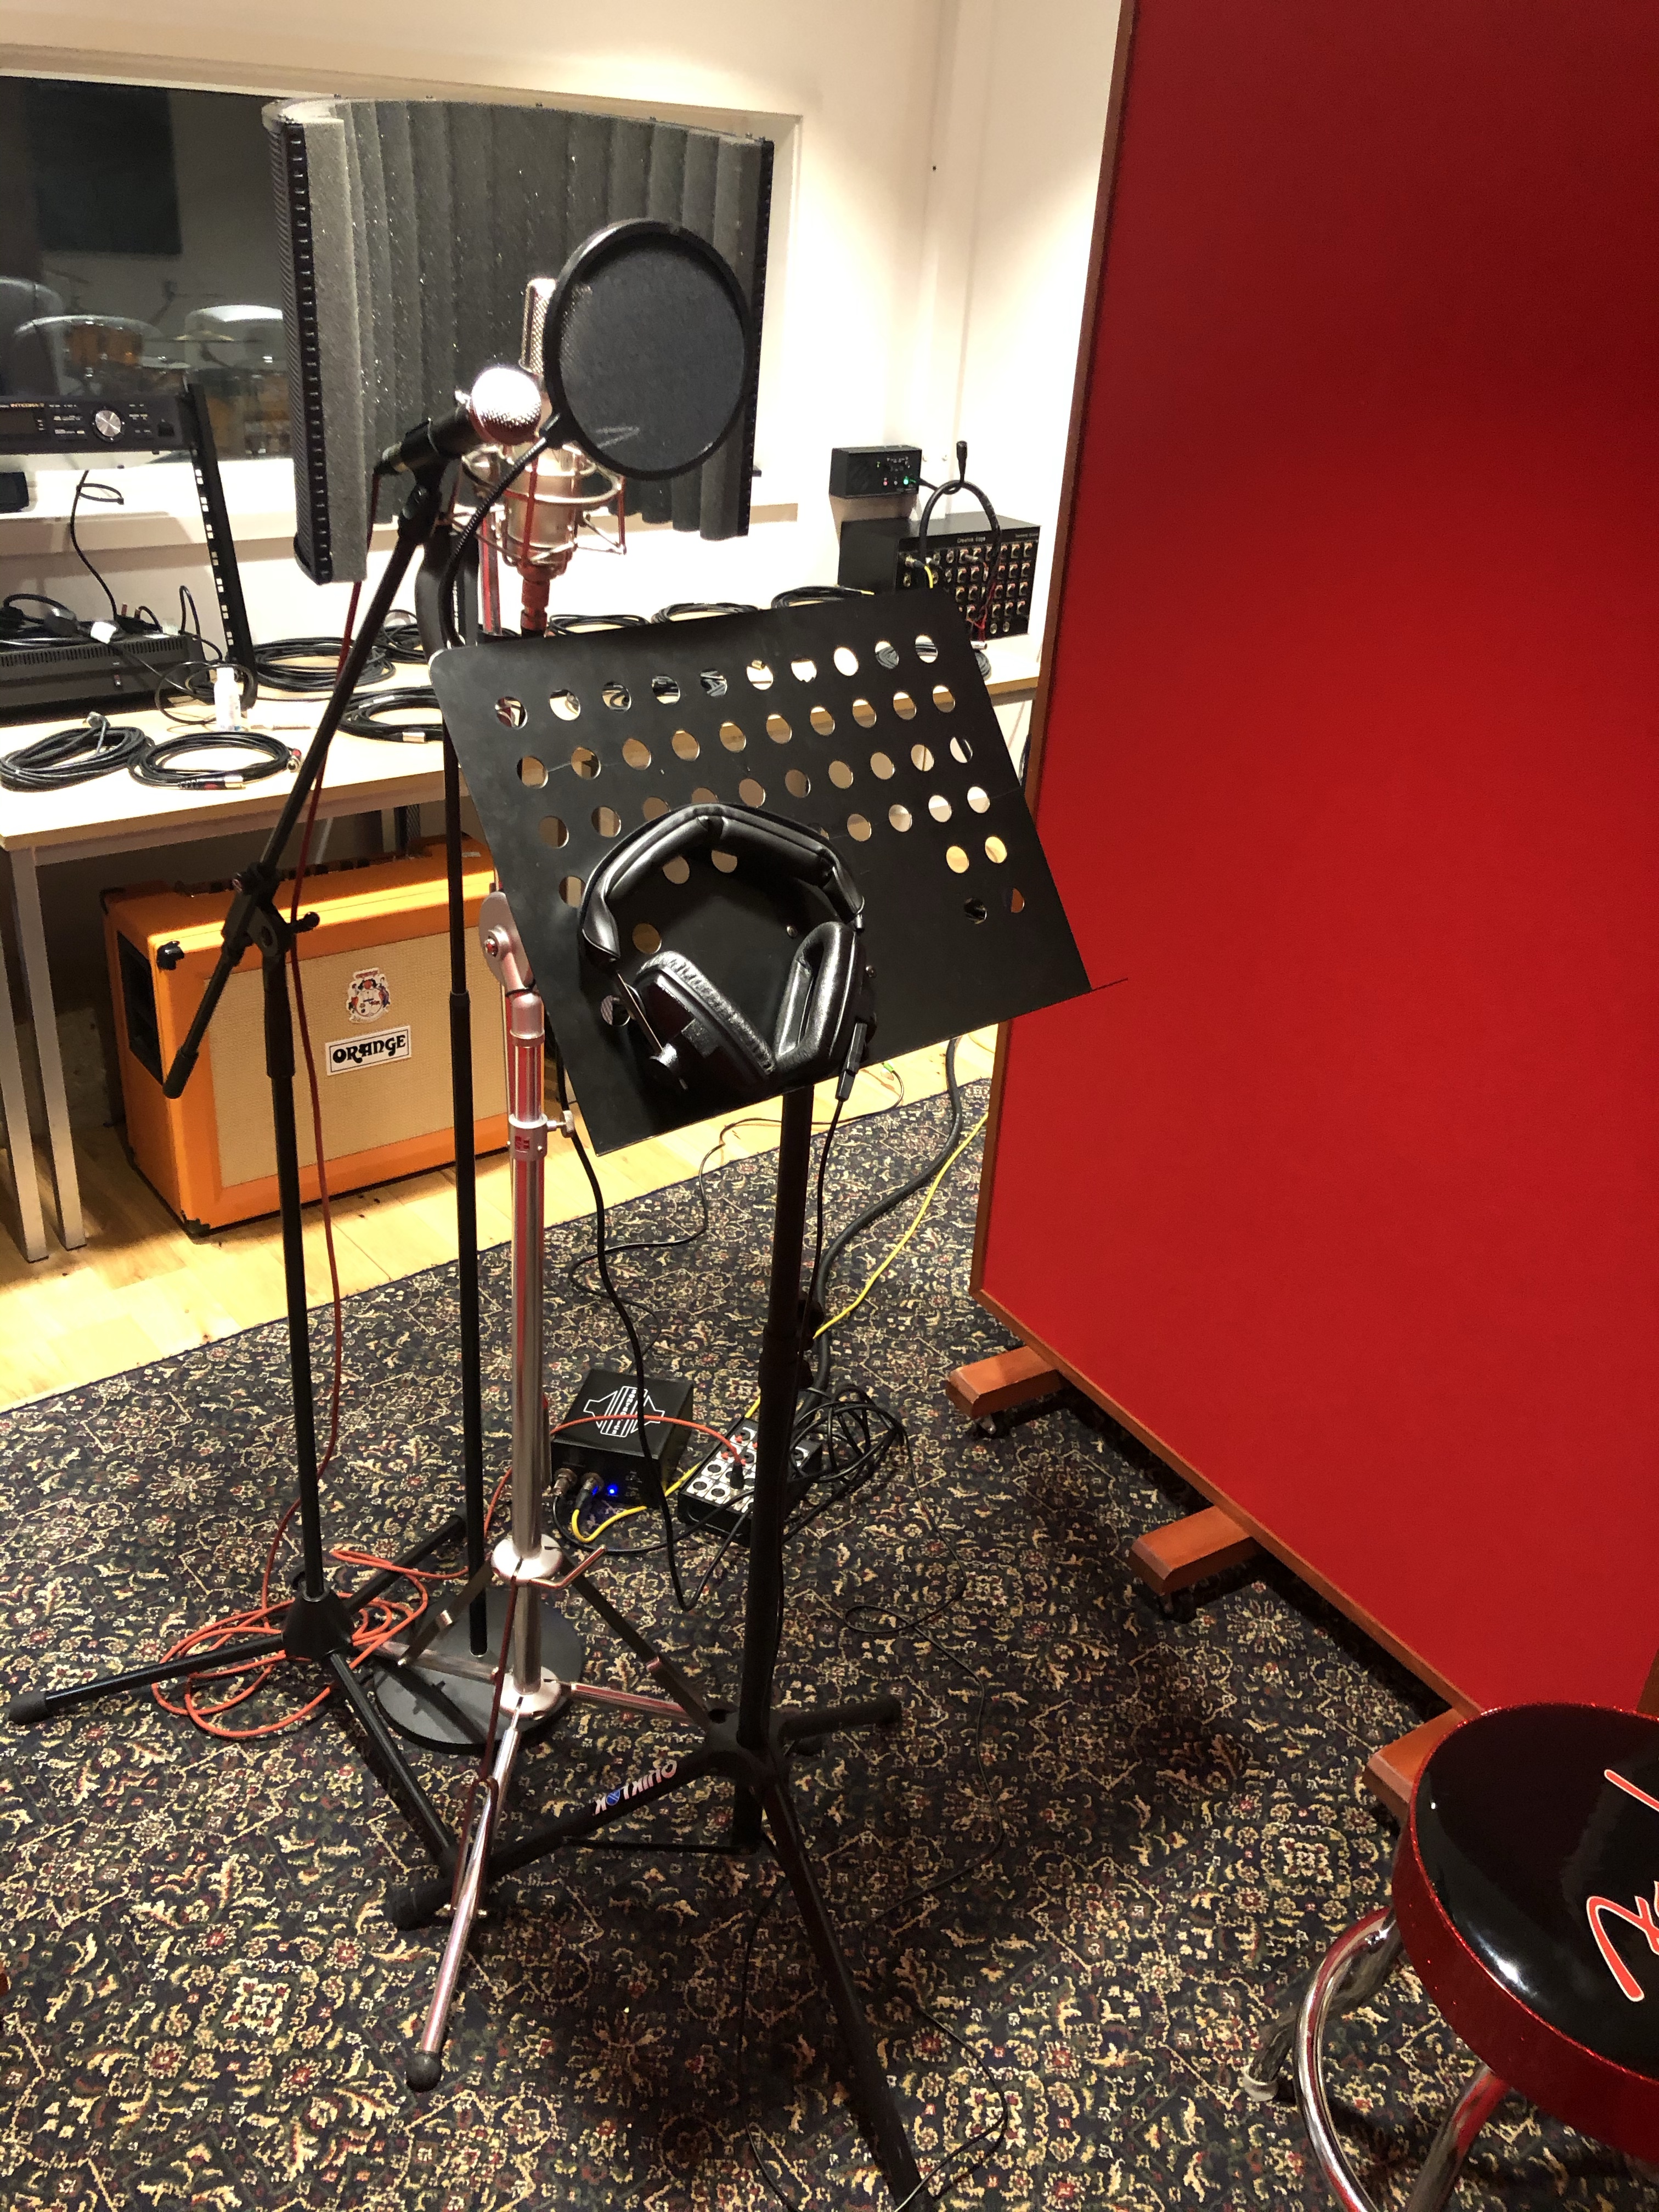
This session we are to setup microphones appropriately for recording an acoustic guitar with vocals. Before we began setting up the microphone stands ready for the microphones, we surrounded a comfortable enough area for the performer with reflection filters (also on a carpet floor which will reduce any reflections from beneath), the reason for this is to ensure we’re getting a dry sound by reducing any early-reflections that would otherwise reflecting of the other hard surfaces in the room such as the Grande piano and walls. We had the Artist get comfortable with their instrument so we could then begin levelling the mic-stands to their appropriate position around the Artist, we then needed to make sure they were screwed tight so they wouldn’t loosen and lose their original position, this would potentially ruin the recording by losing character and dynamics, to solve this we applied a washer on before attaching any microphones which would then ensure that they are screwed more securely.
We setup a (low-impedance, cardioid, dynamic microphone) SM57 pointed directly at the neck of the guitar at around four inches from the neck (this should capture a brighter tone and any slides across the fret – gives a more intimate sound), for recording the vocals we setup a Ribbon Microphone (large diaphragm, condenser, bidirectional microphone) which we then positioned level to the Artist’s mouth, additionally installing a pop-filter (eliminates any popping noises caused by mechanical impacts of fast moving air onto the microphone. They also help to reduce any moisture from effecting the microphone better preserving the equipment.). An alternative to using a pop filter would be by positioning the microphone off-axis above and pointing down to the singers mouth. Using a shock mount with the Ribbon is very necessary as they are vulnerable to unwanted mechanical noise; which the shock mount prevents.
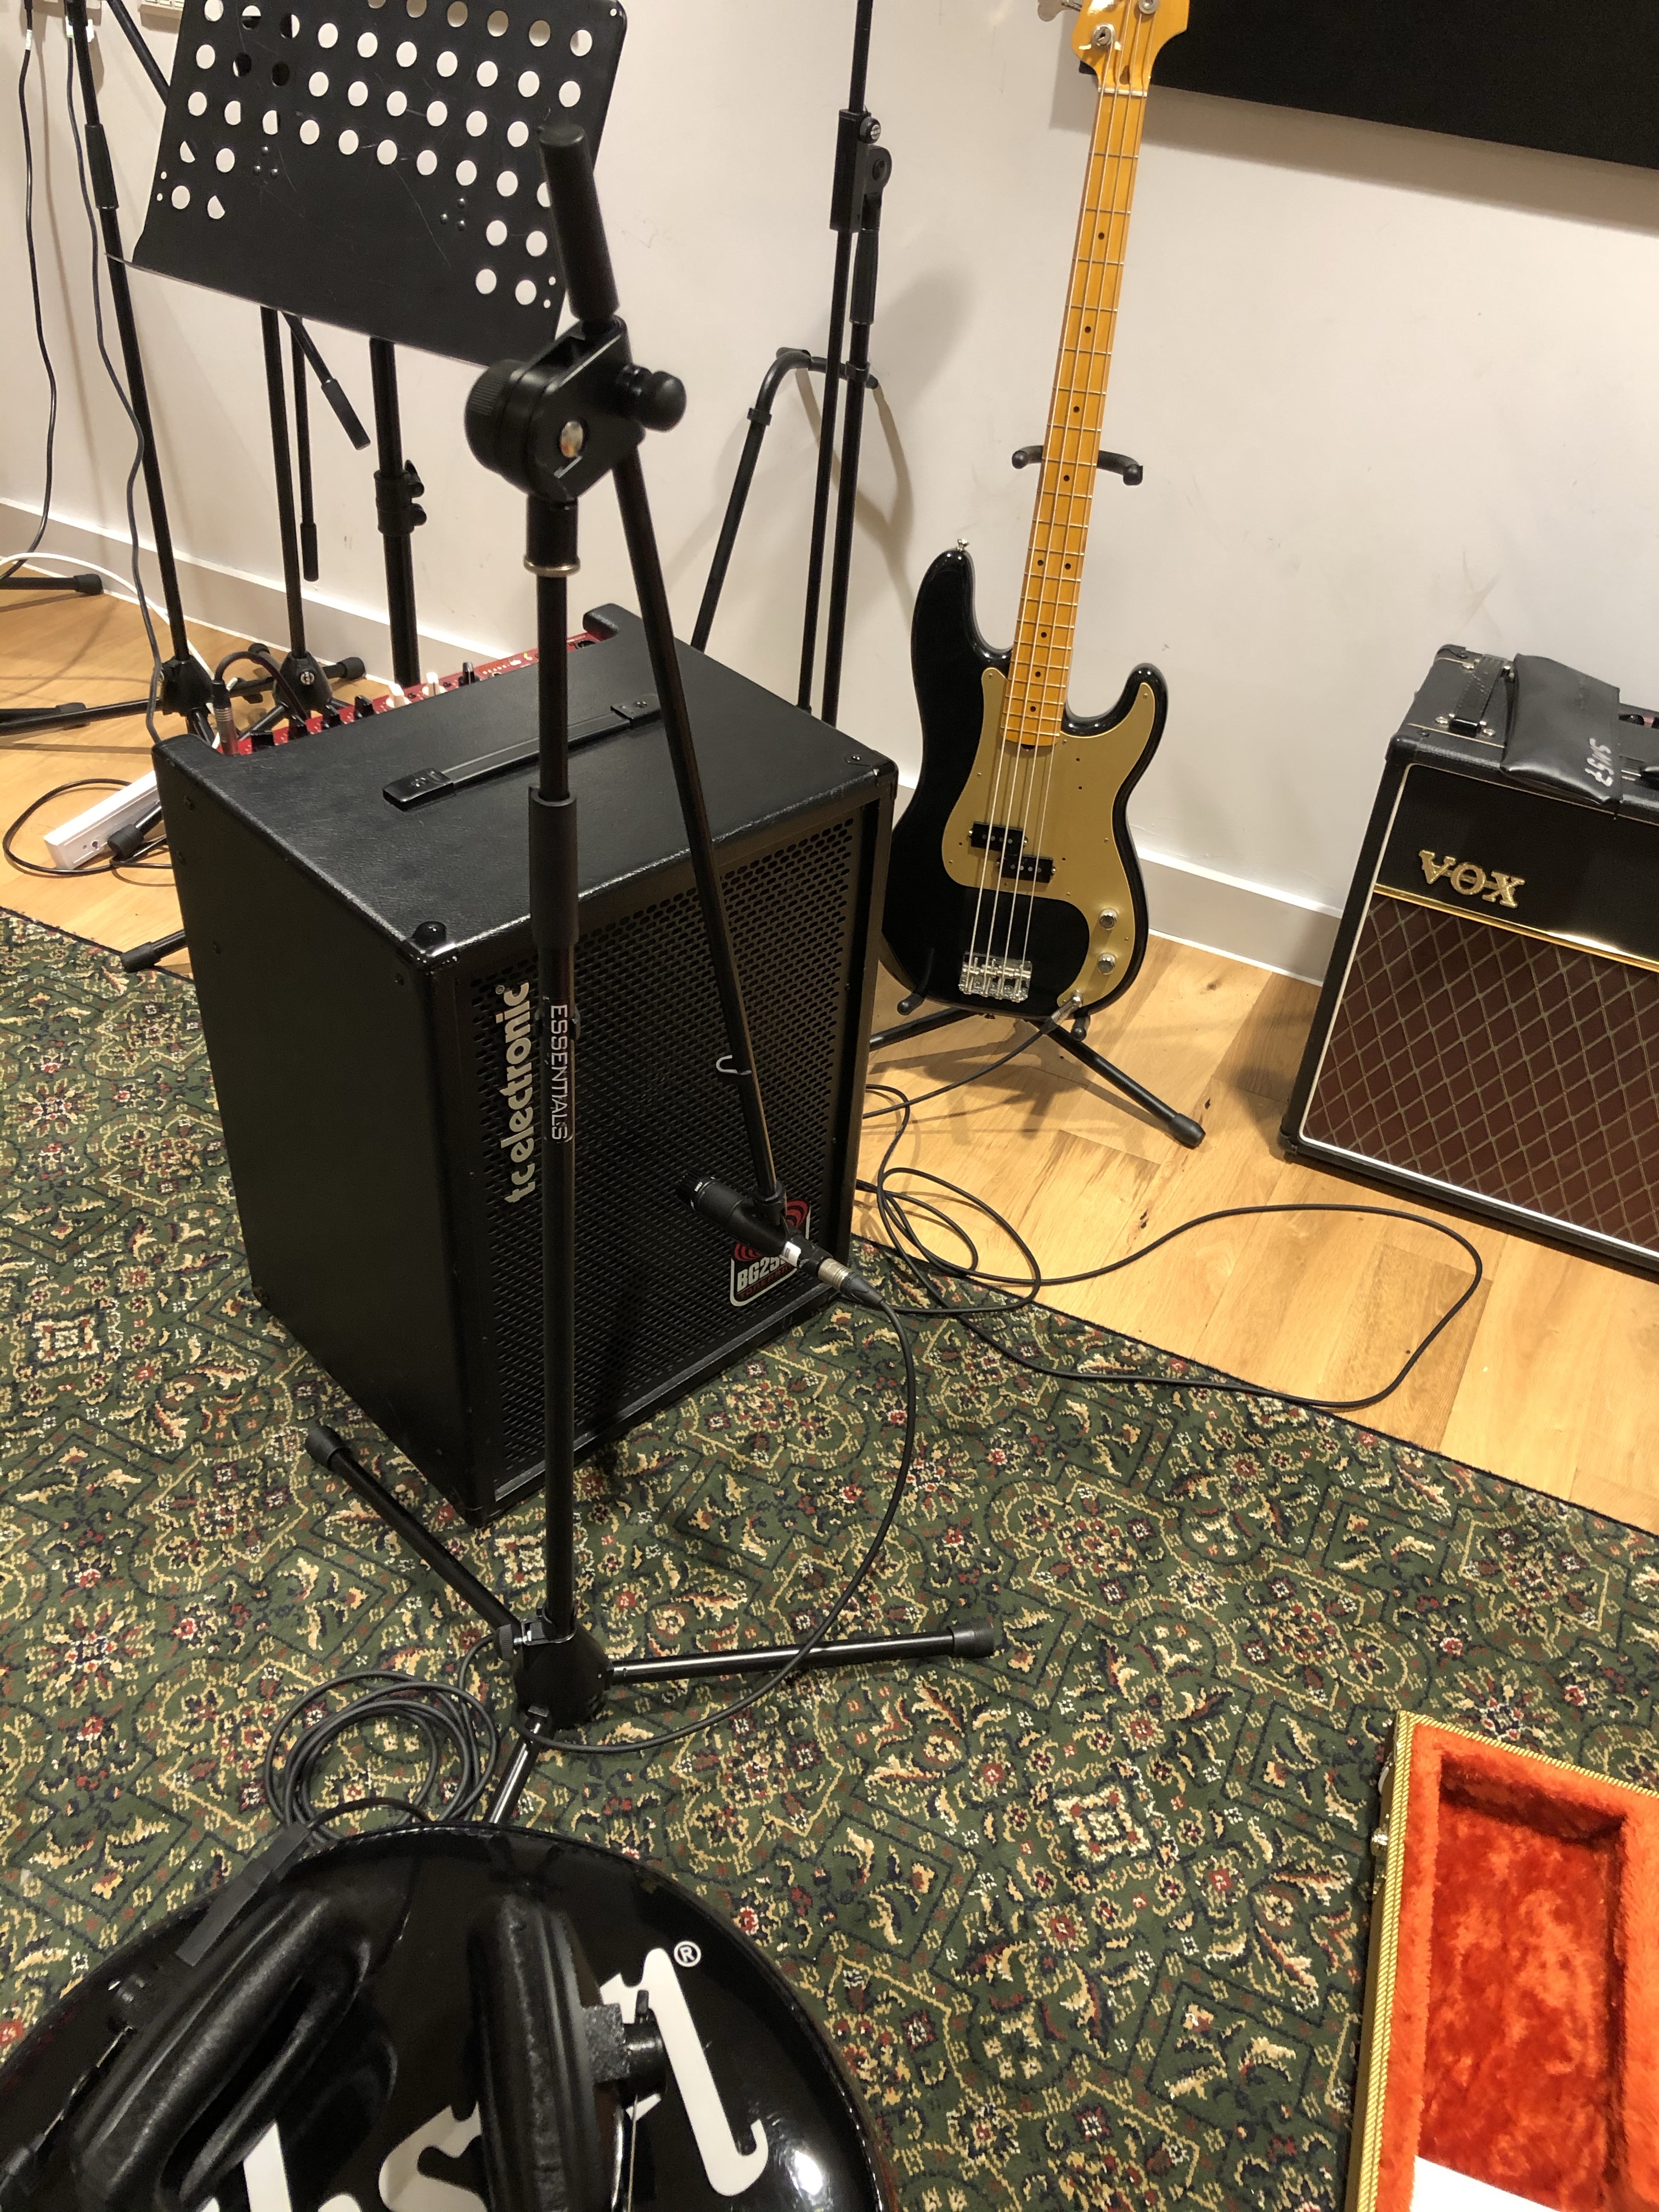
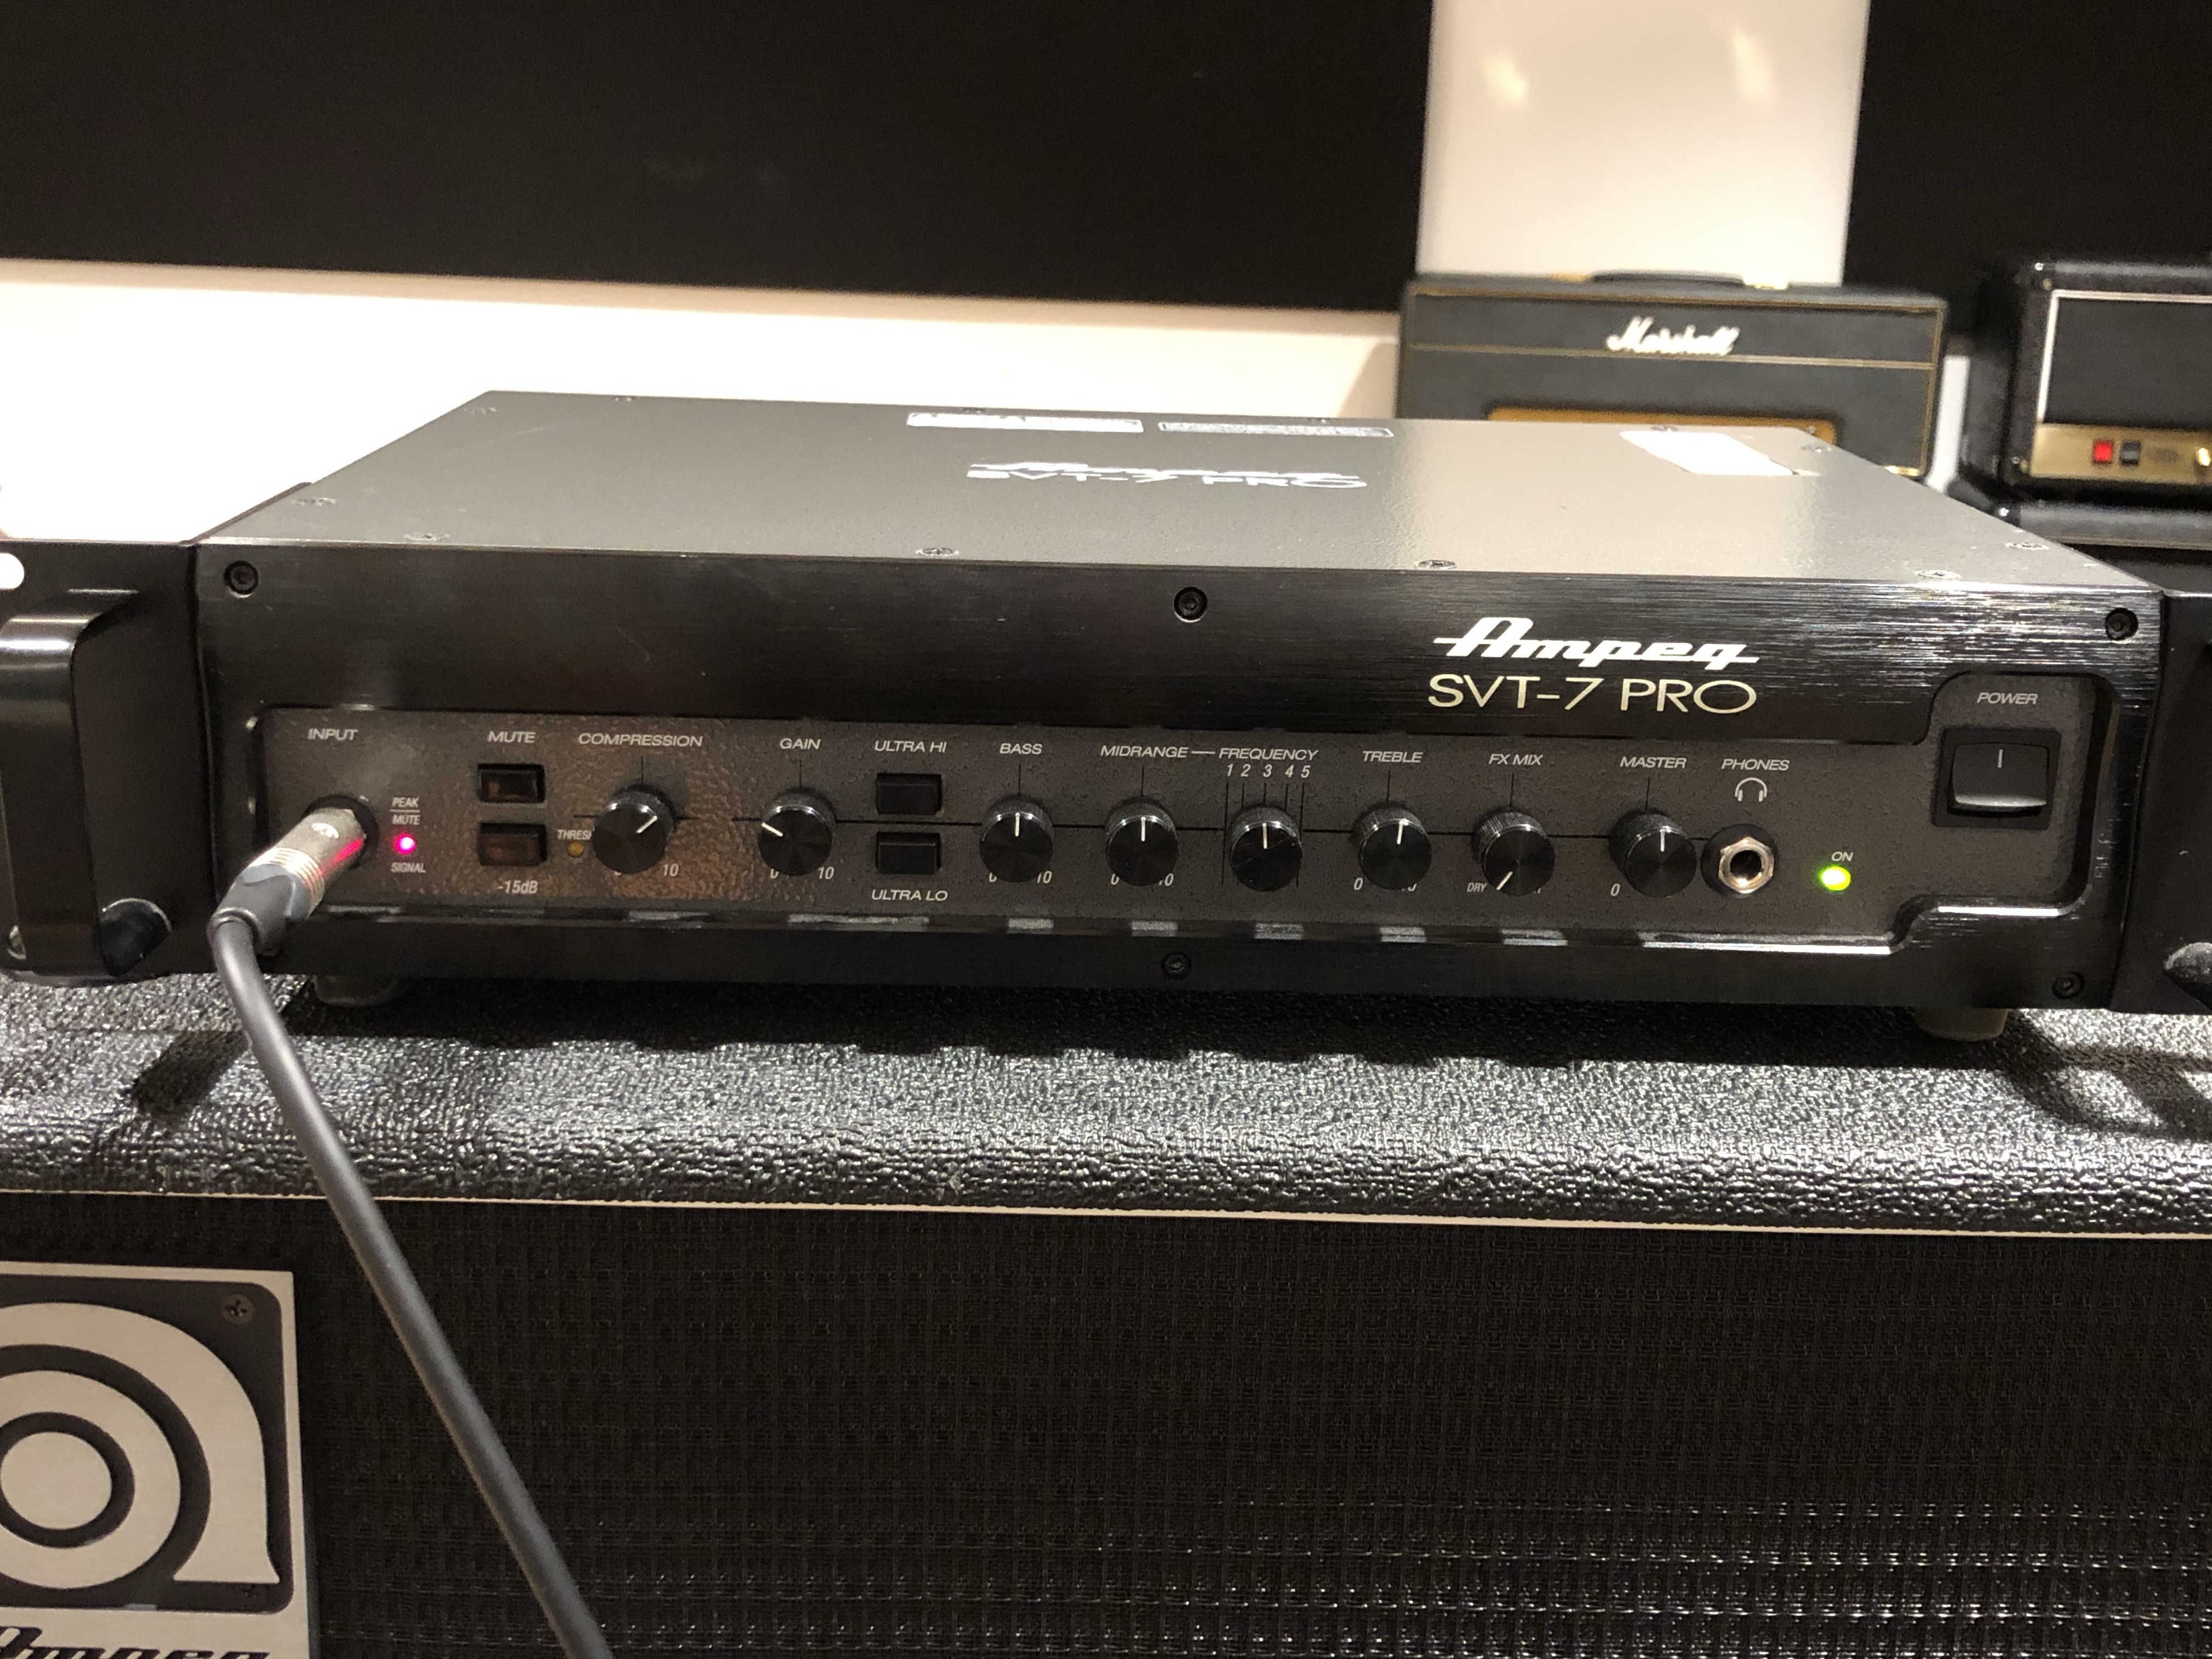
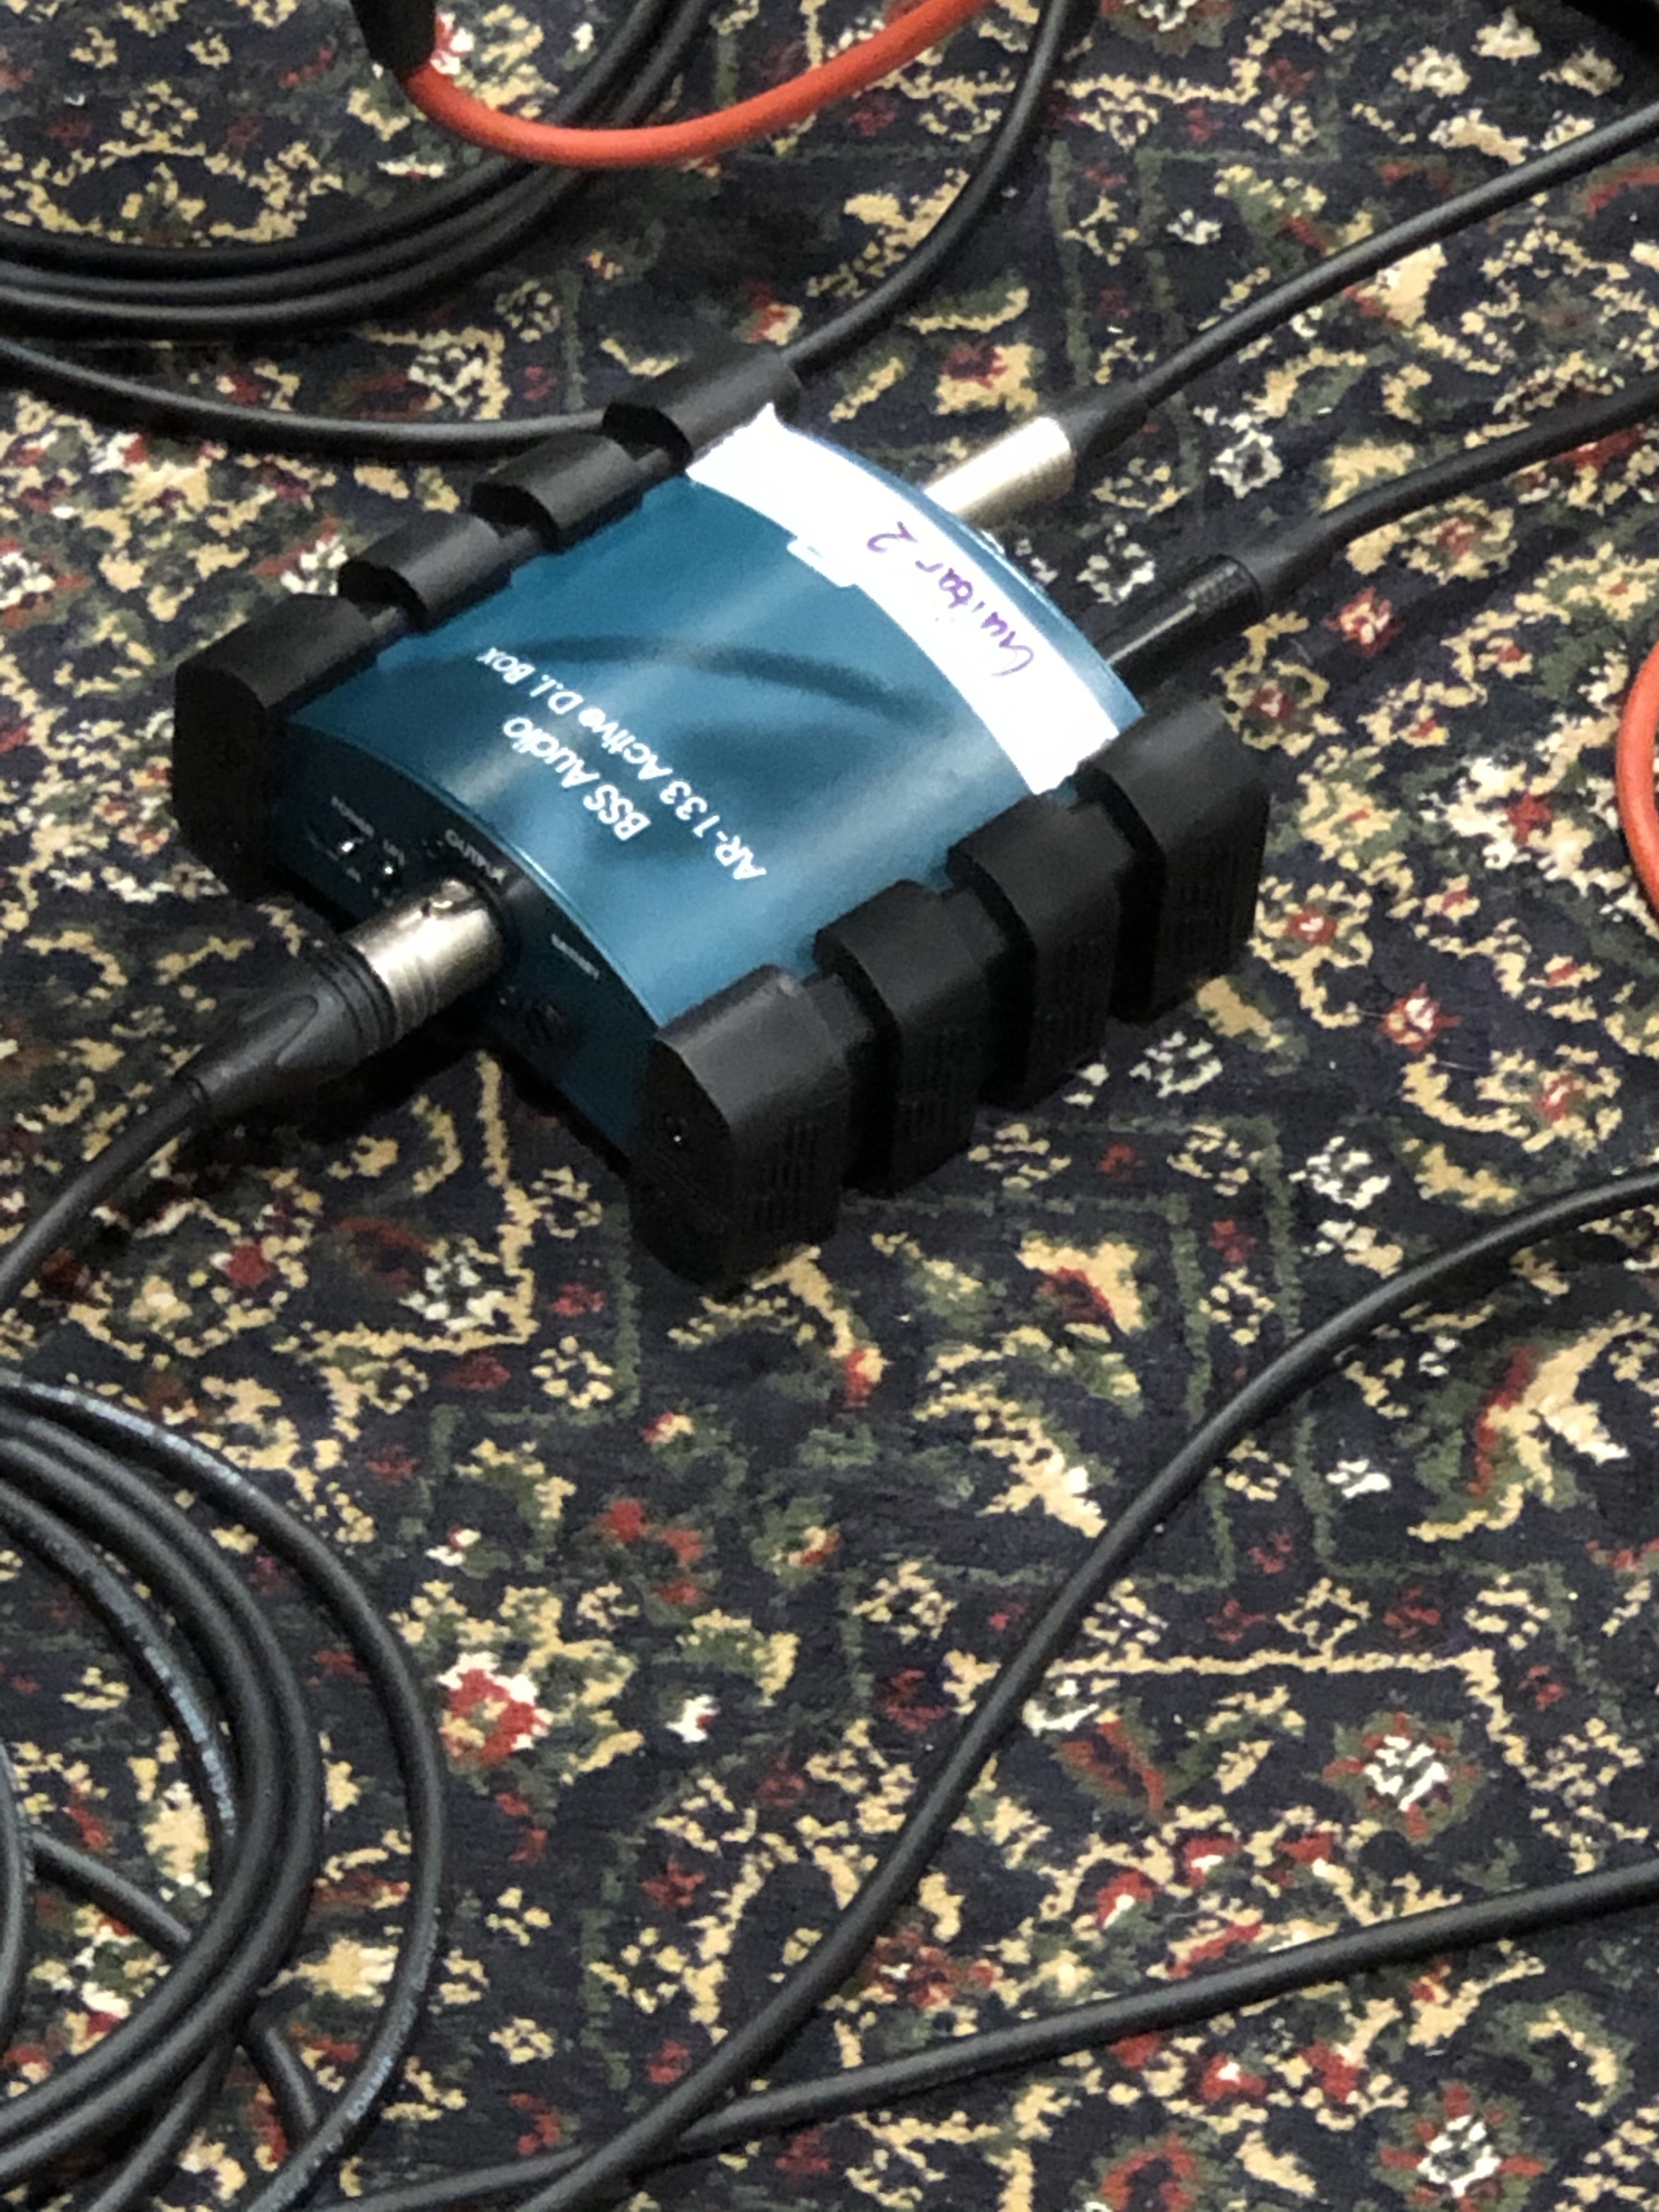
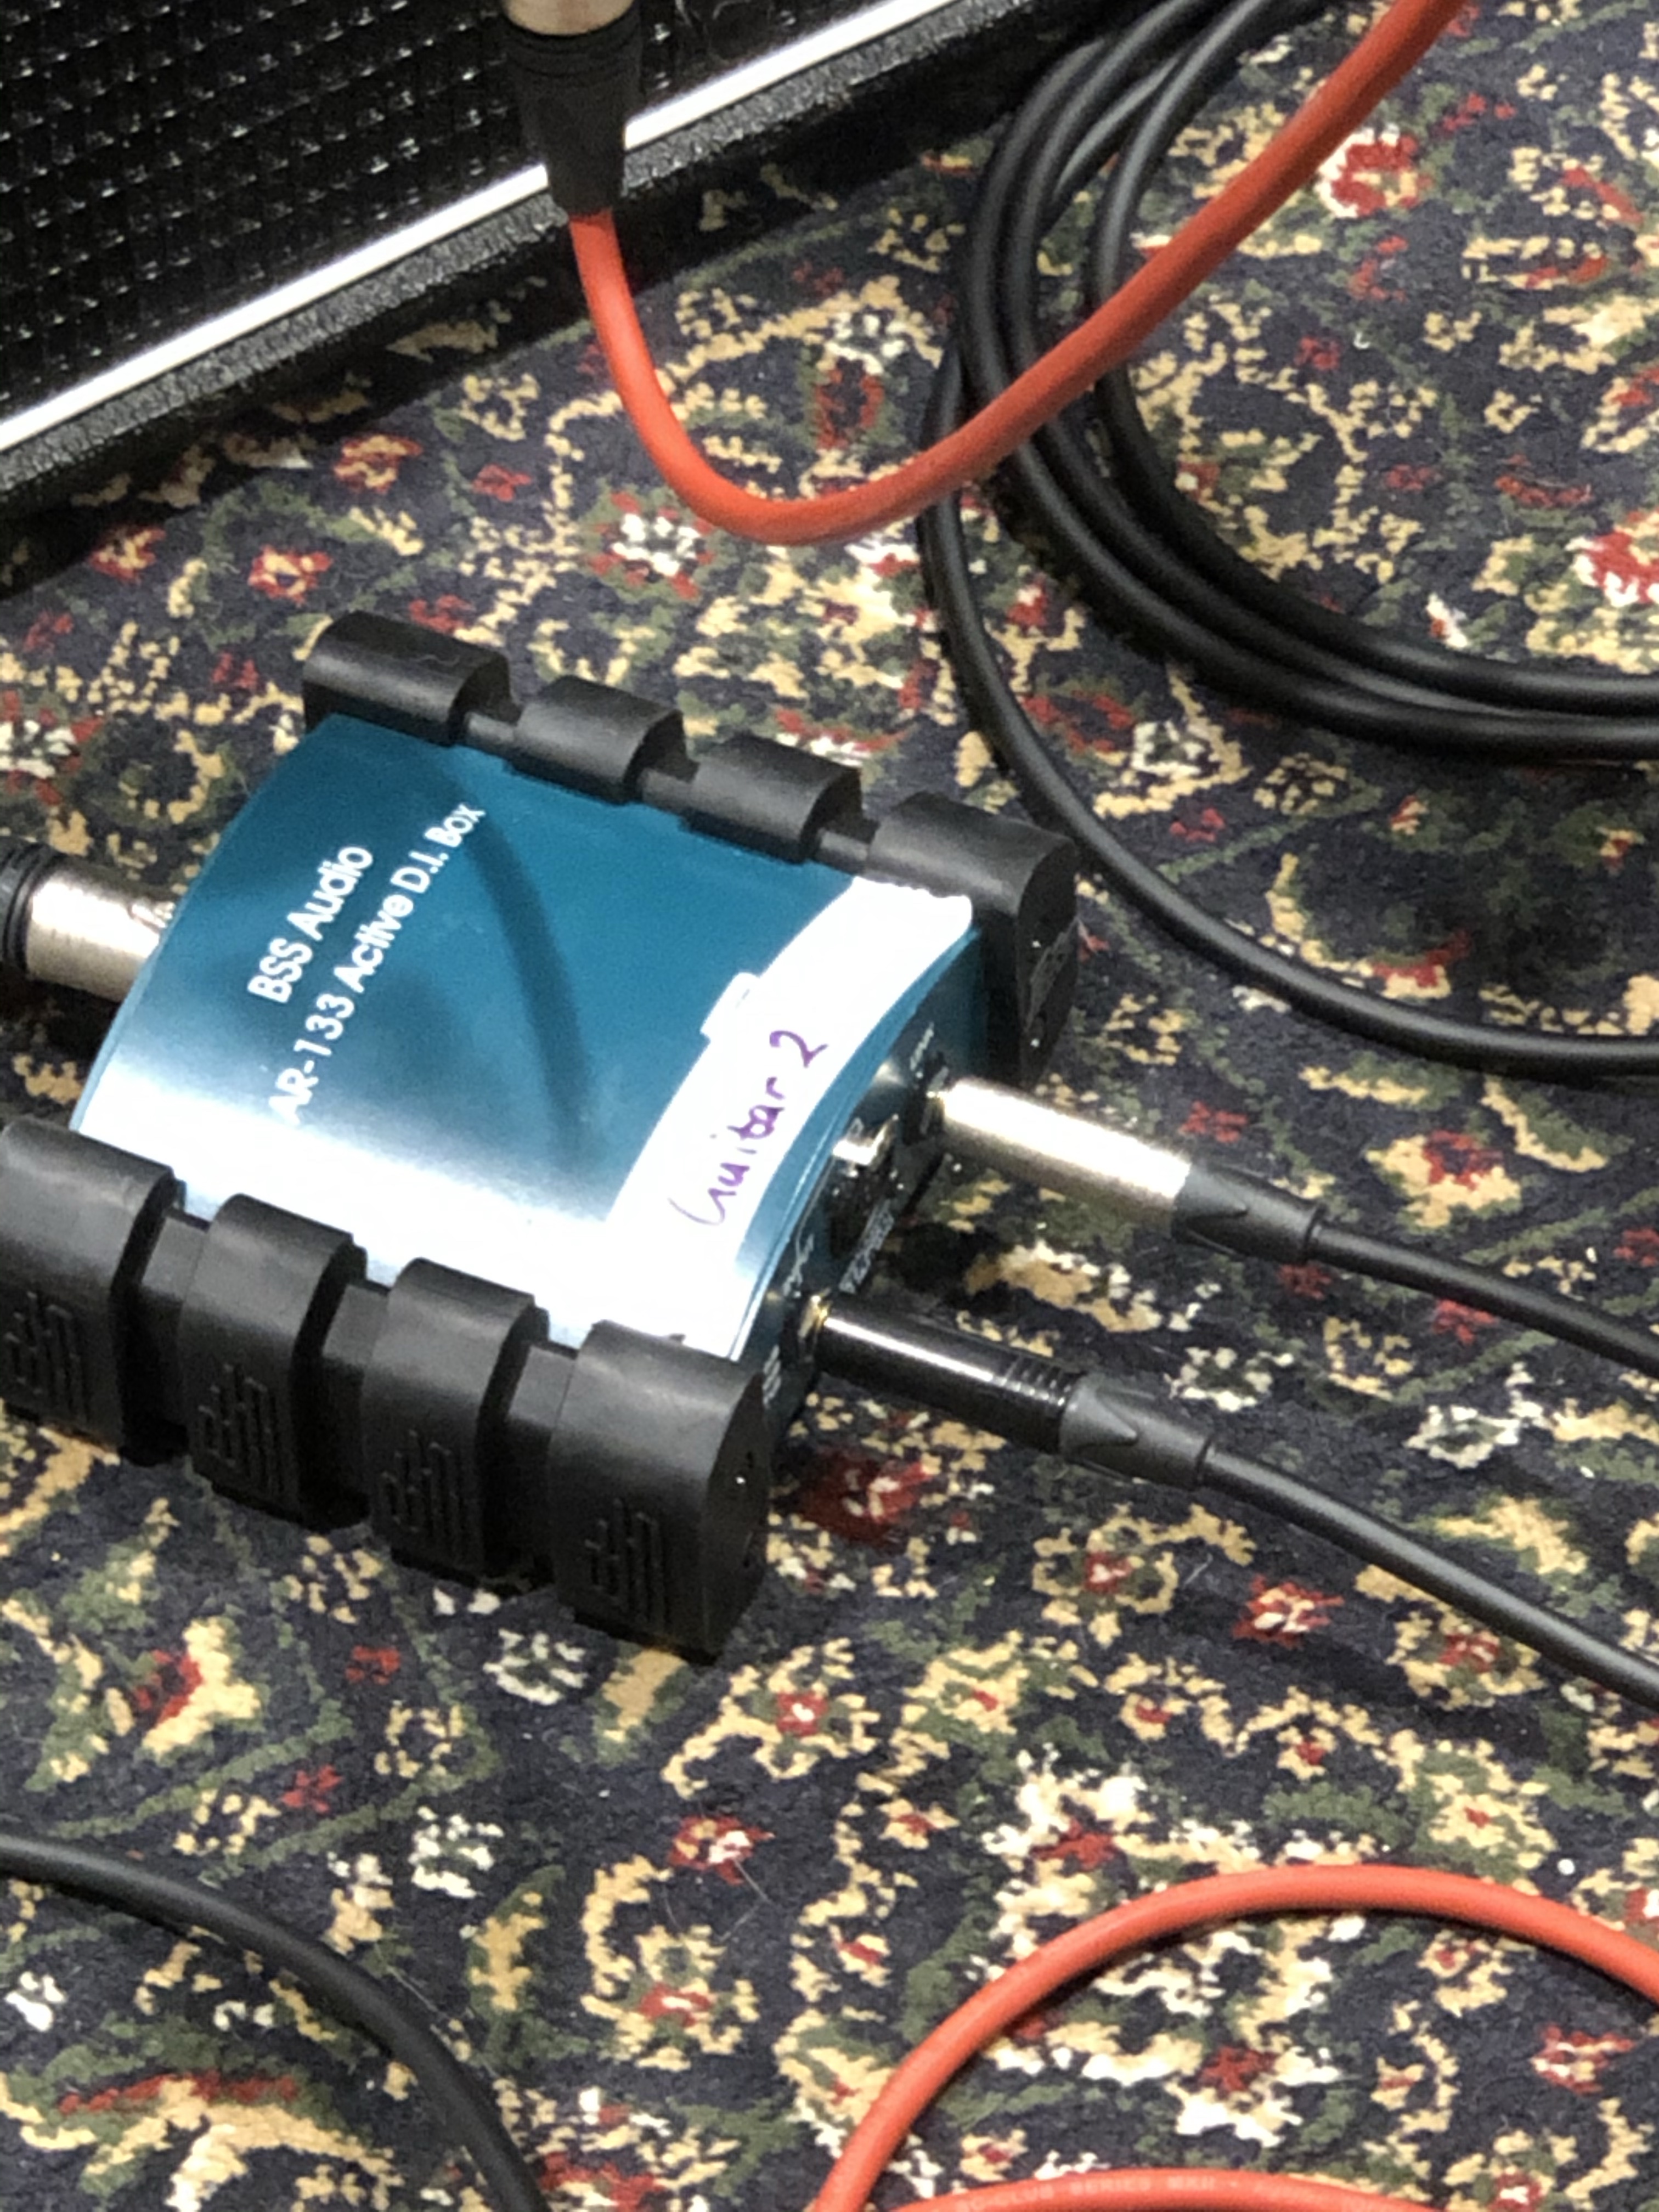
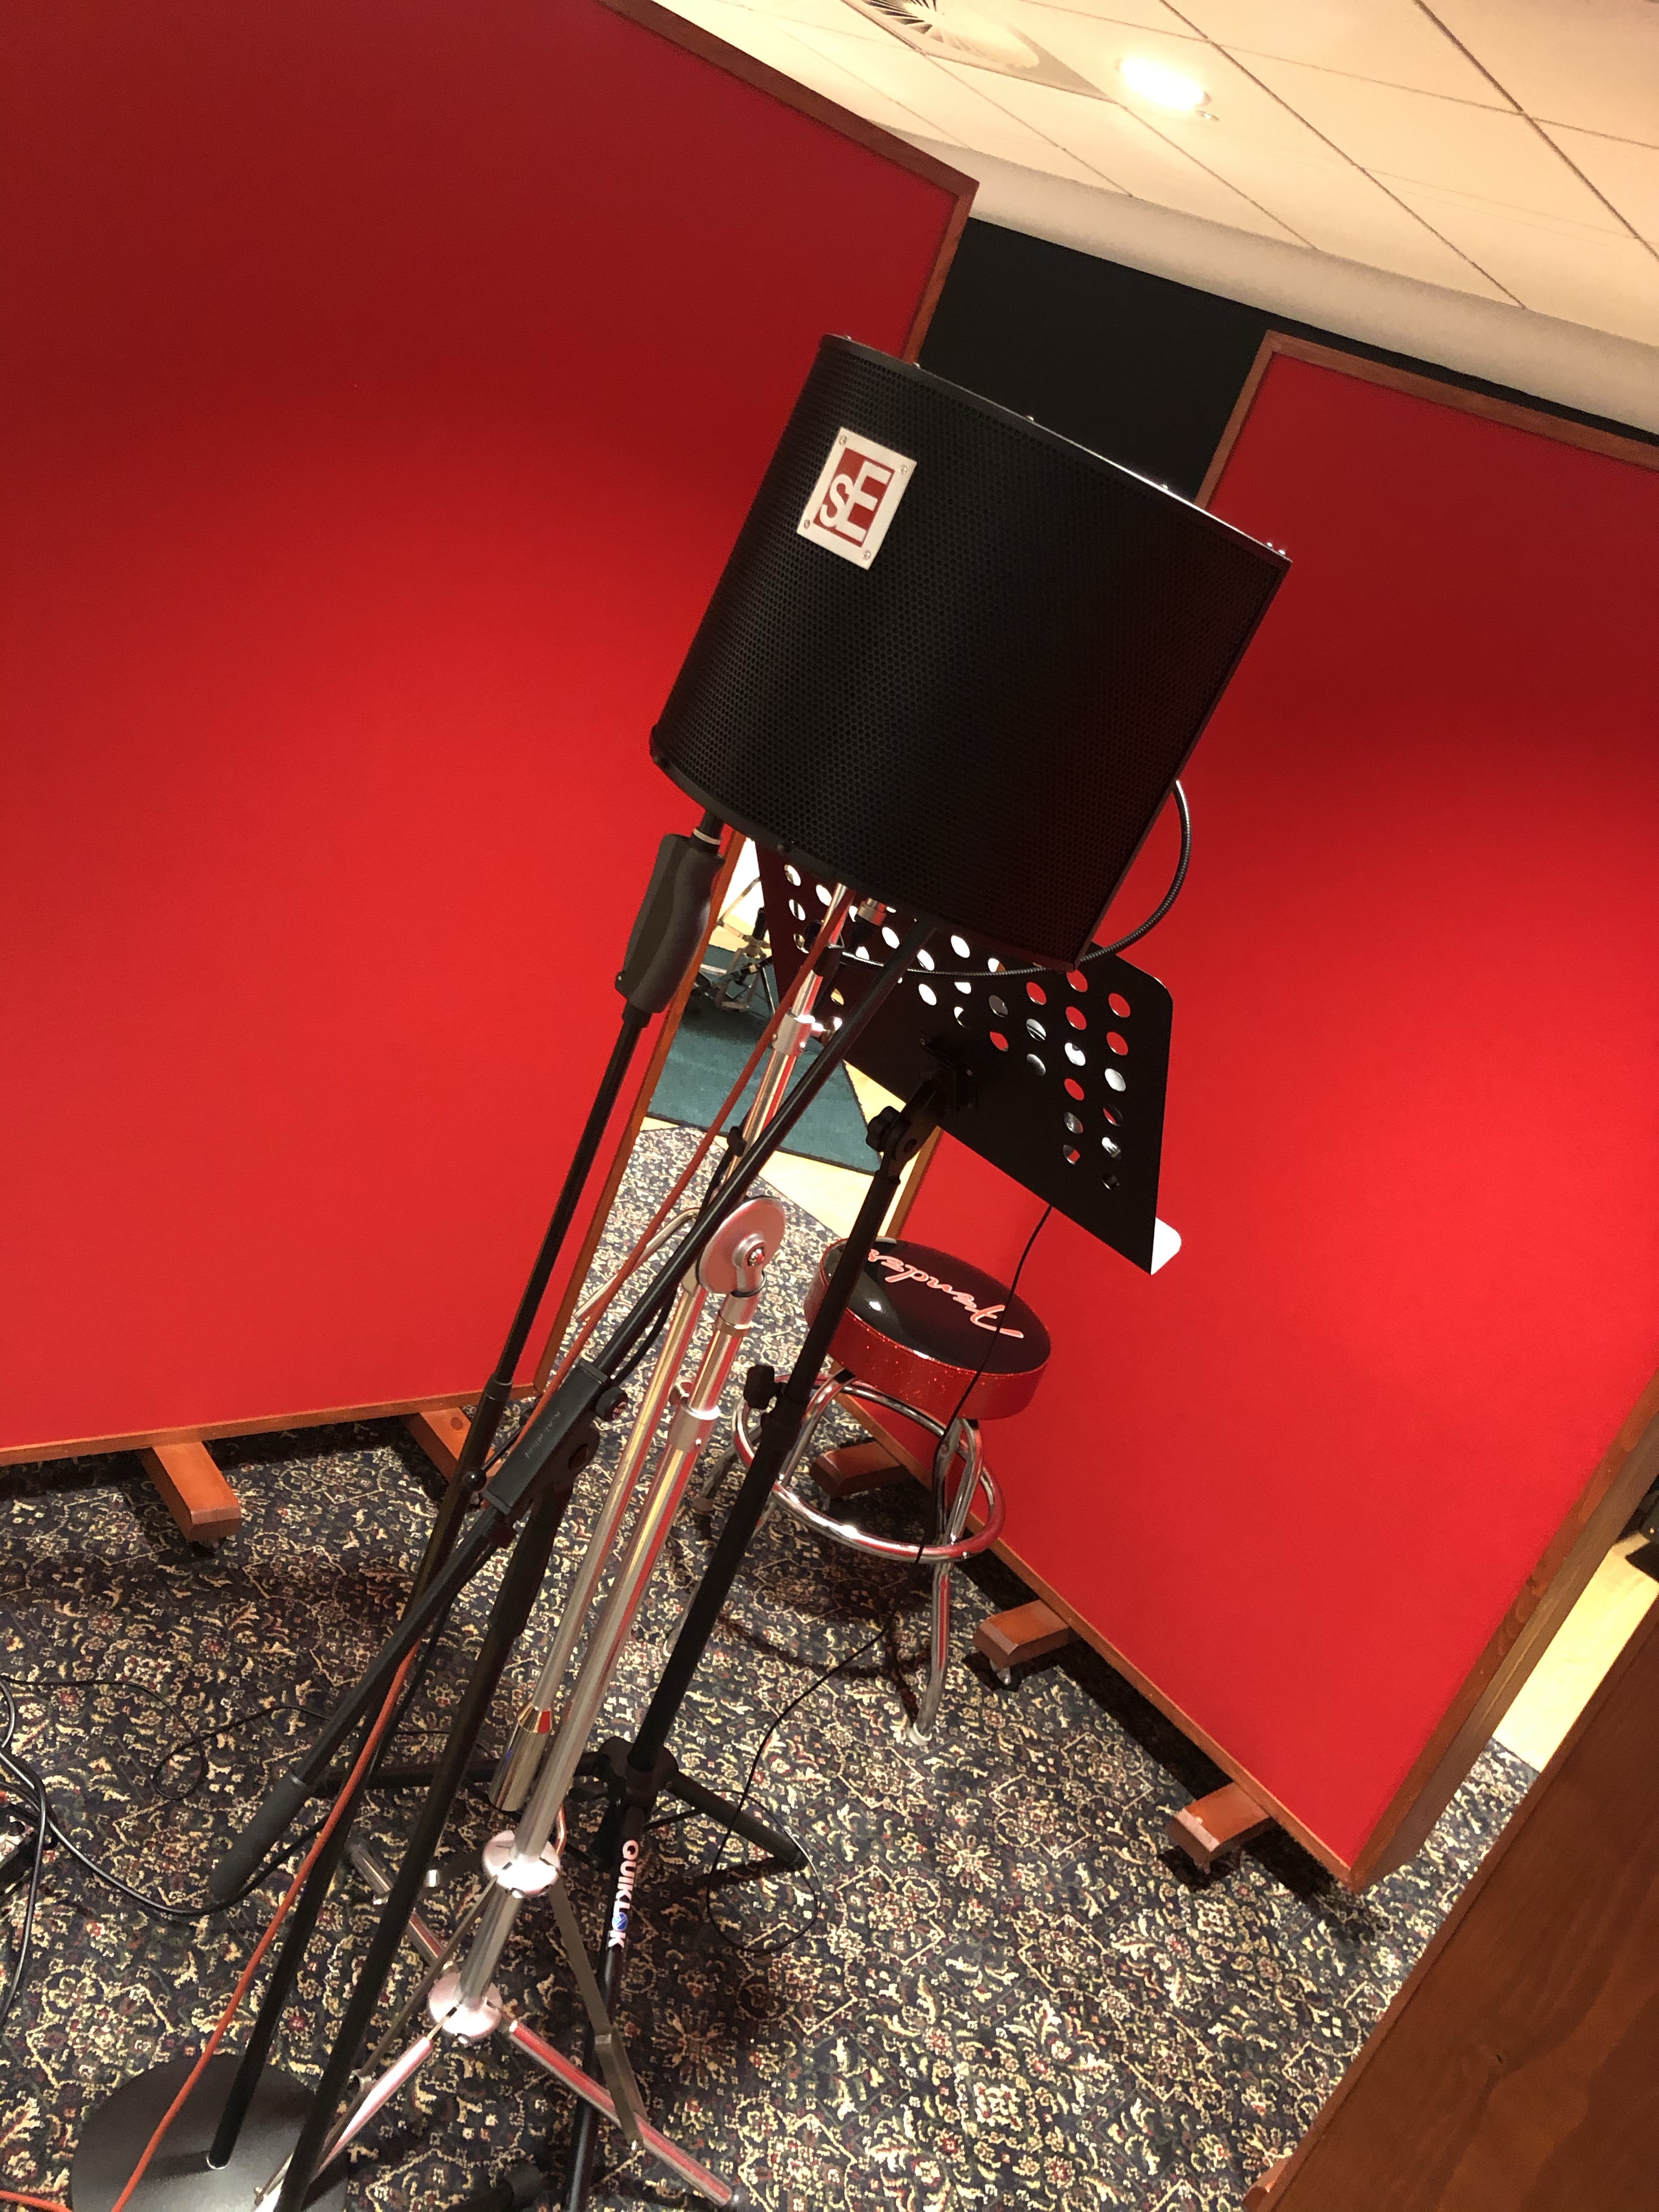
Today’s session we’re to record an electric-bass guitar plugged through to an amplifier. We began by plugging the bass into its appropriate input route, (We do this to remove confusion when routing the signals at the mixing desk, another reason this is necessary is so when bus routing in a DAW no signals can be confused with others), then positioned two different microphones so we could record the tonal differences between them. We setup a condenser microphone attached to a shock mount and a dynamic microphone both angled toward the speaker that the amplifier was connected to. To battle the unwanted presence of feedback through the amplifier that we’re using we routed the signal from the amplifier into the input of the D.I. Box which should take any high-impedance signal and convert it to a low-impedance signal resulting in a clear balance signal.
The differences between both microphones we’re incredibly obvious when listening, the condenser picked up a lot of the higher frequencies from the sound which gave a brighter timbre. On the other hand, the dynamic picked up a much duller tonal quality from the sound, the lower frequencies we’re more apparent given the fact that not much of the higher frequencies were captured clearly, they were however still at a high enough decibel to be heard but weren’t clear enough to be considered rich in any sense.


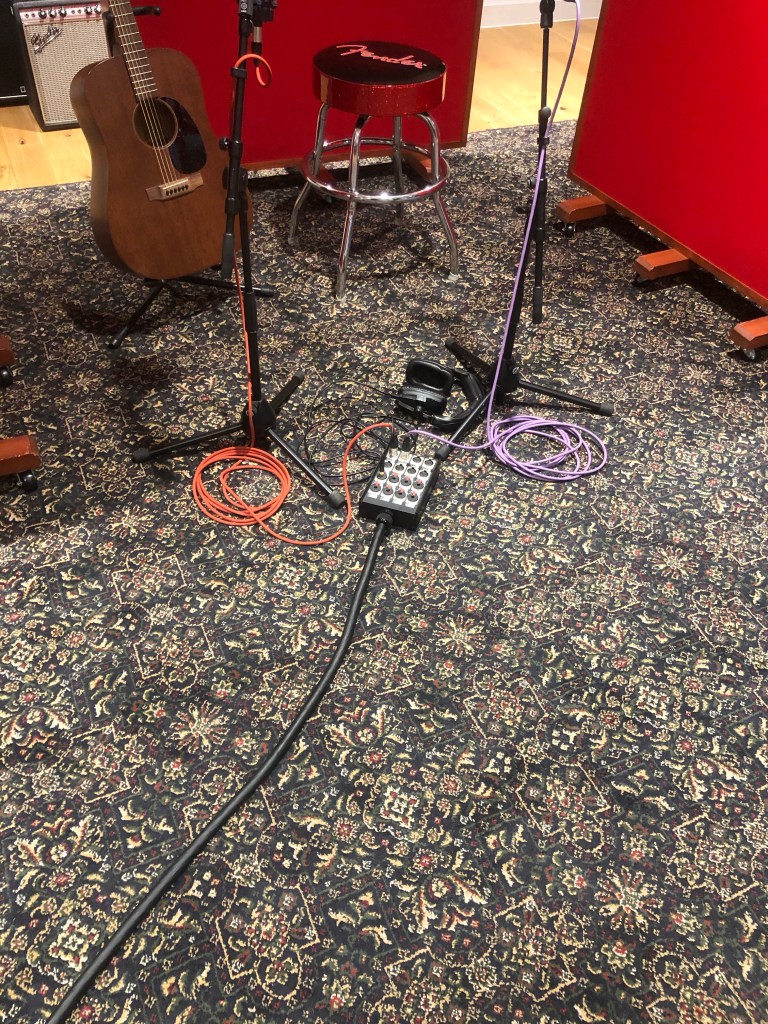
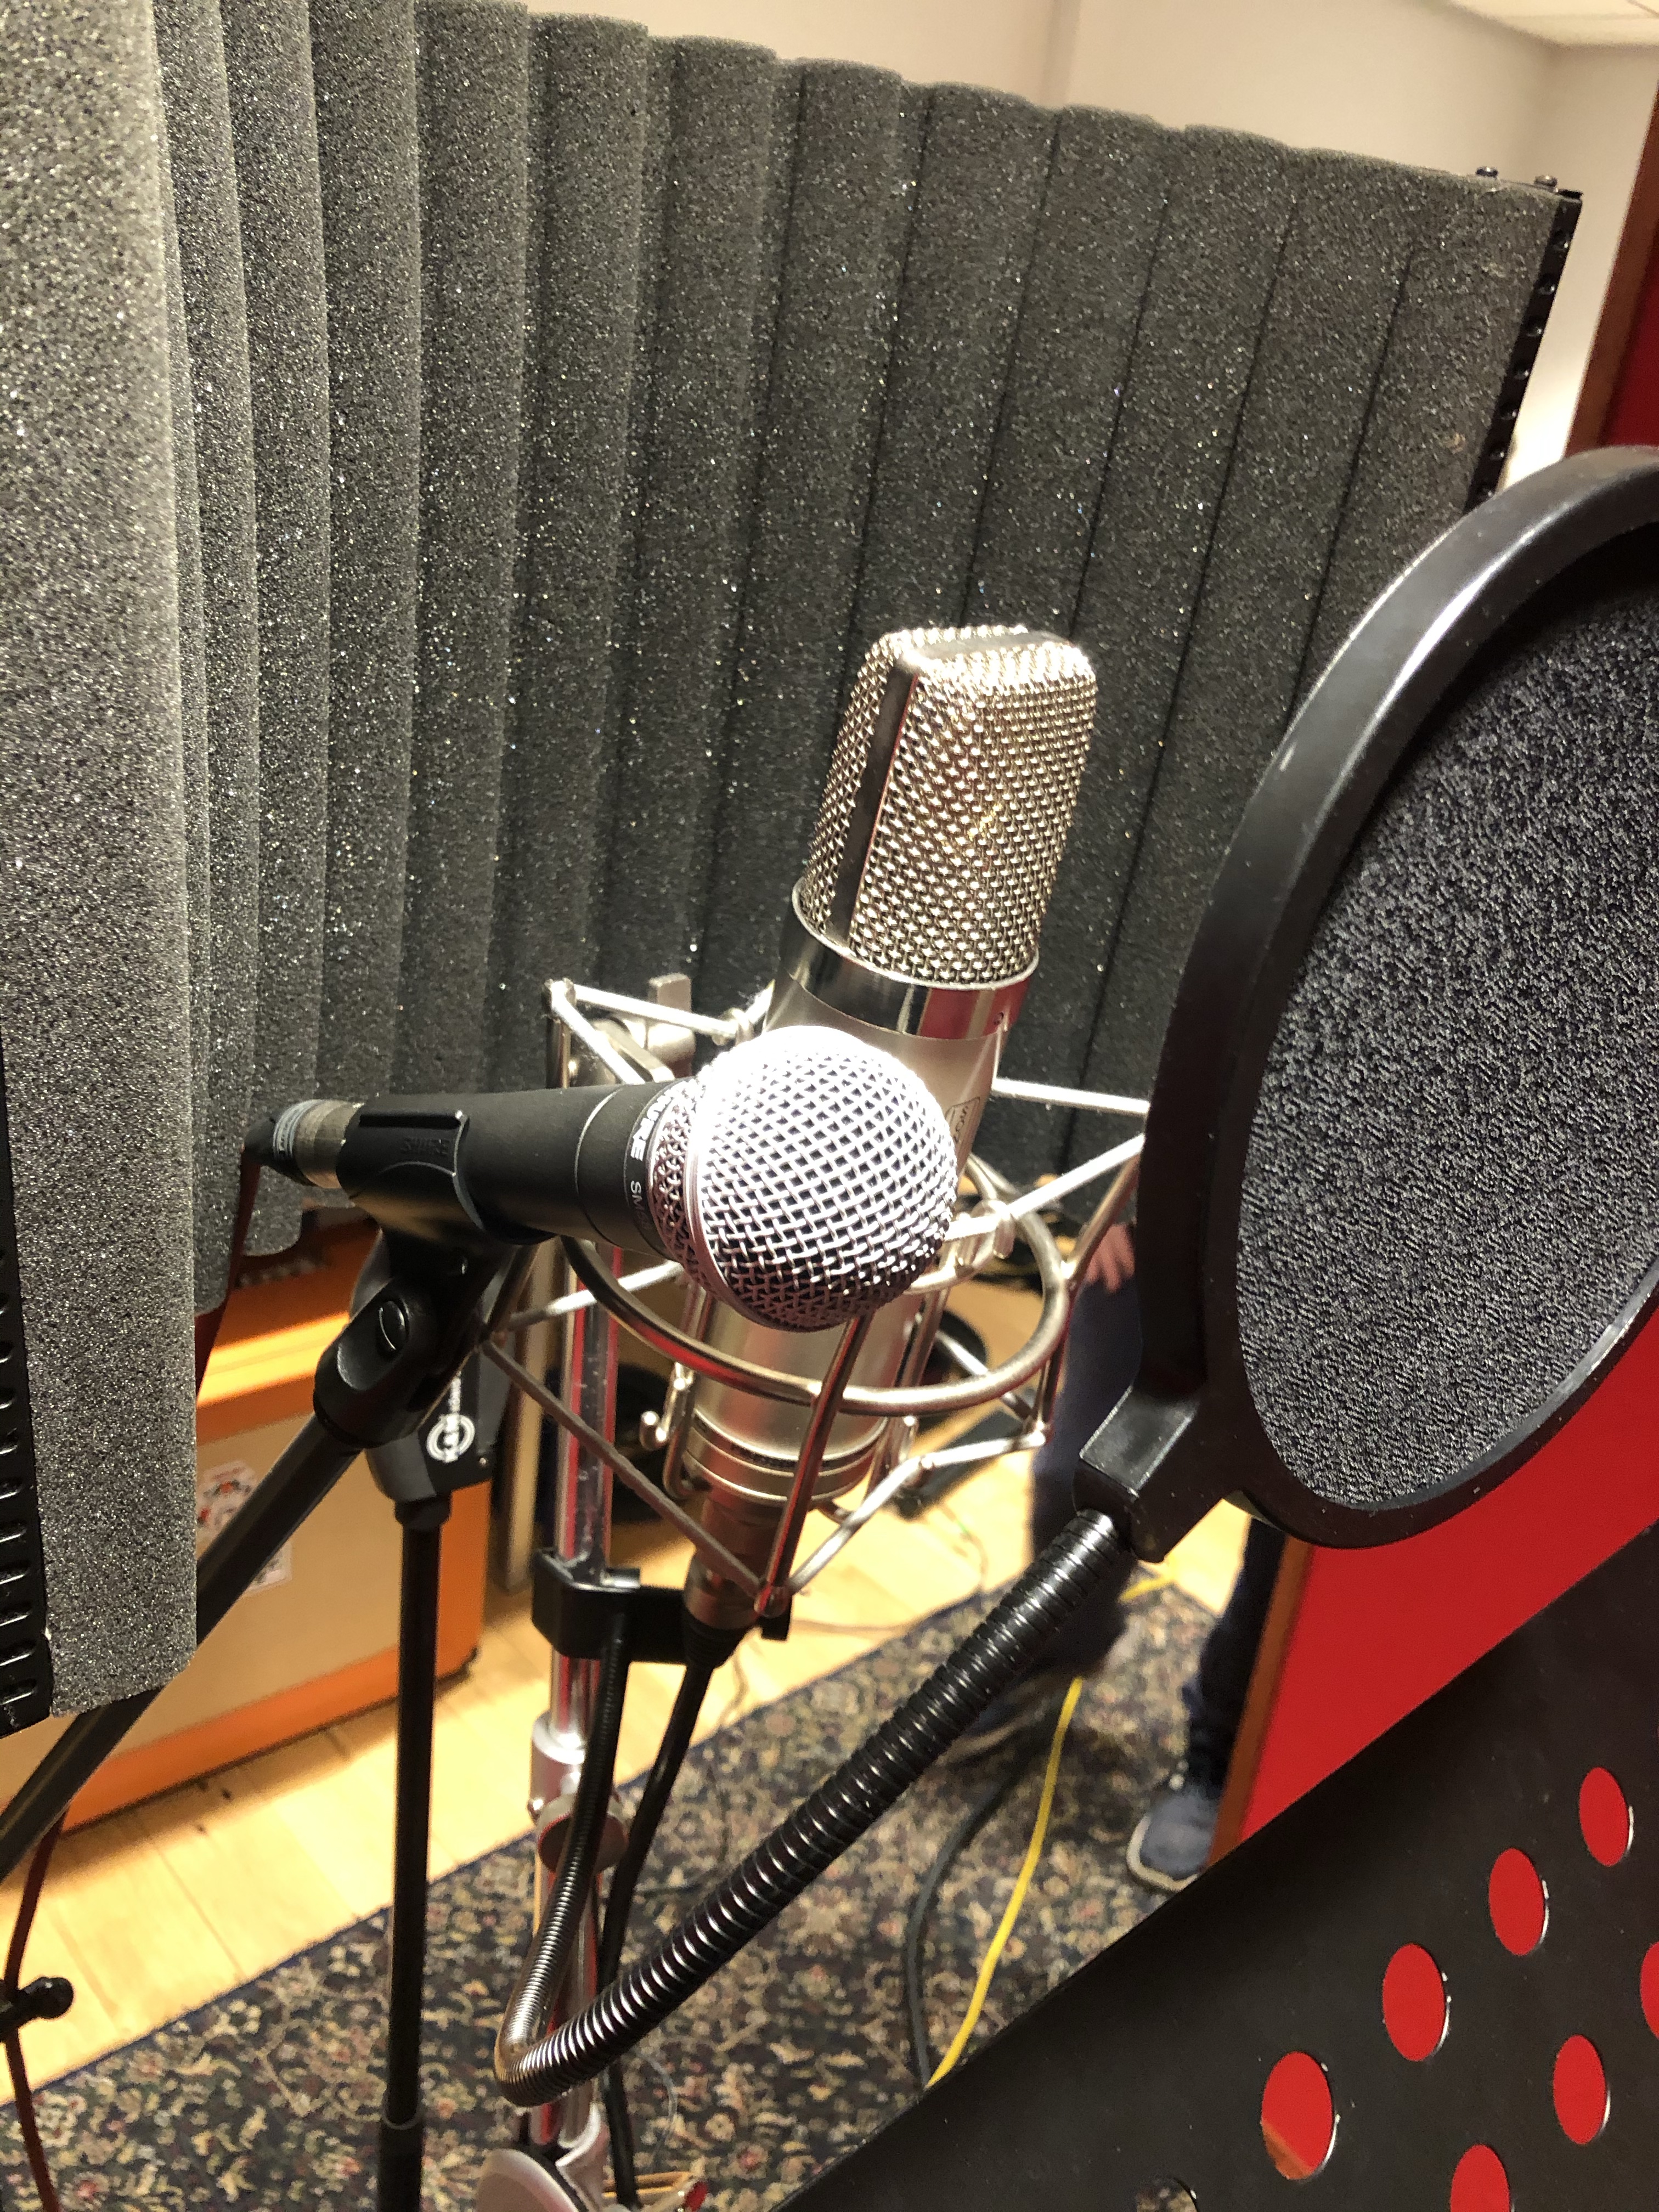
This session we setup two microphones (condenser & dynamic) to record vocals. We set off the session by first surrounding the artist with reflection filters to absorb any reflections coming from the singer, then positioned an additional reflection filter behind the microphones to get an incredibly dry room tone (Without the filters the microphones would capture some reflections from around the room giving the recording an unwanted tone/characteristic for this specific recording). The two microphones we’re set up to meet the singers head height, adjusted to be focused toward their mouth, and confronted with a pop filter to reduce the air waves coming from any plosives.


These sessions were for the final assignment, we are required to record the same song with two different microphone methods giving each their own interesting tones of character.
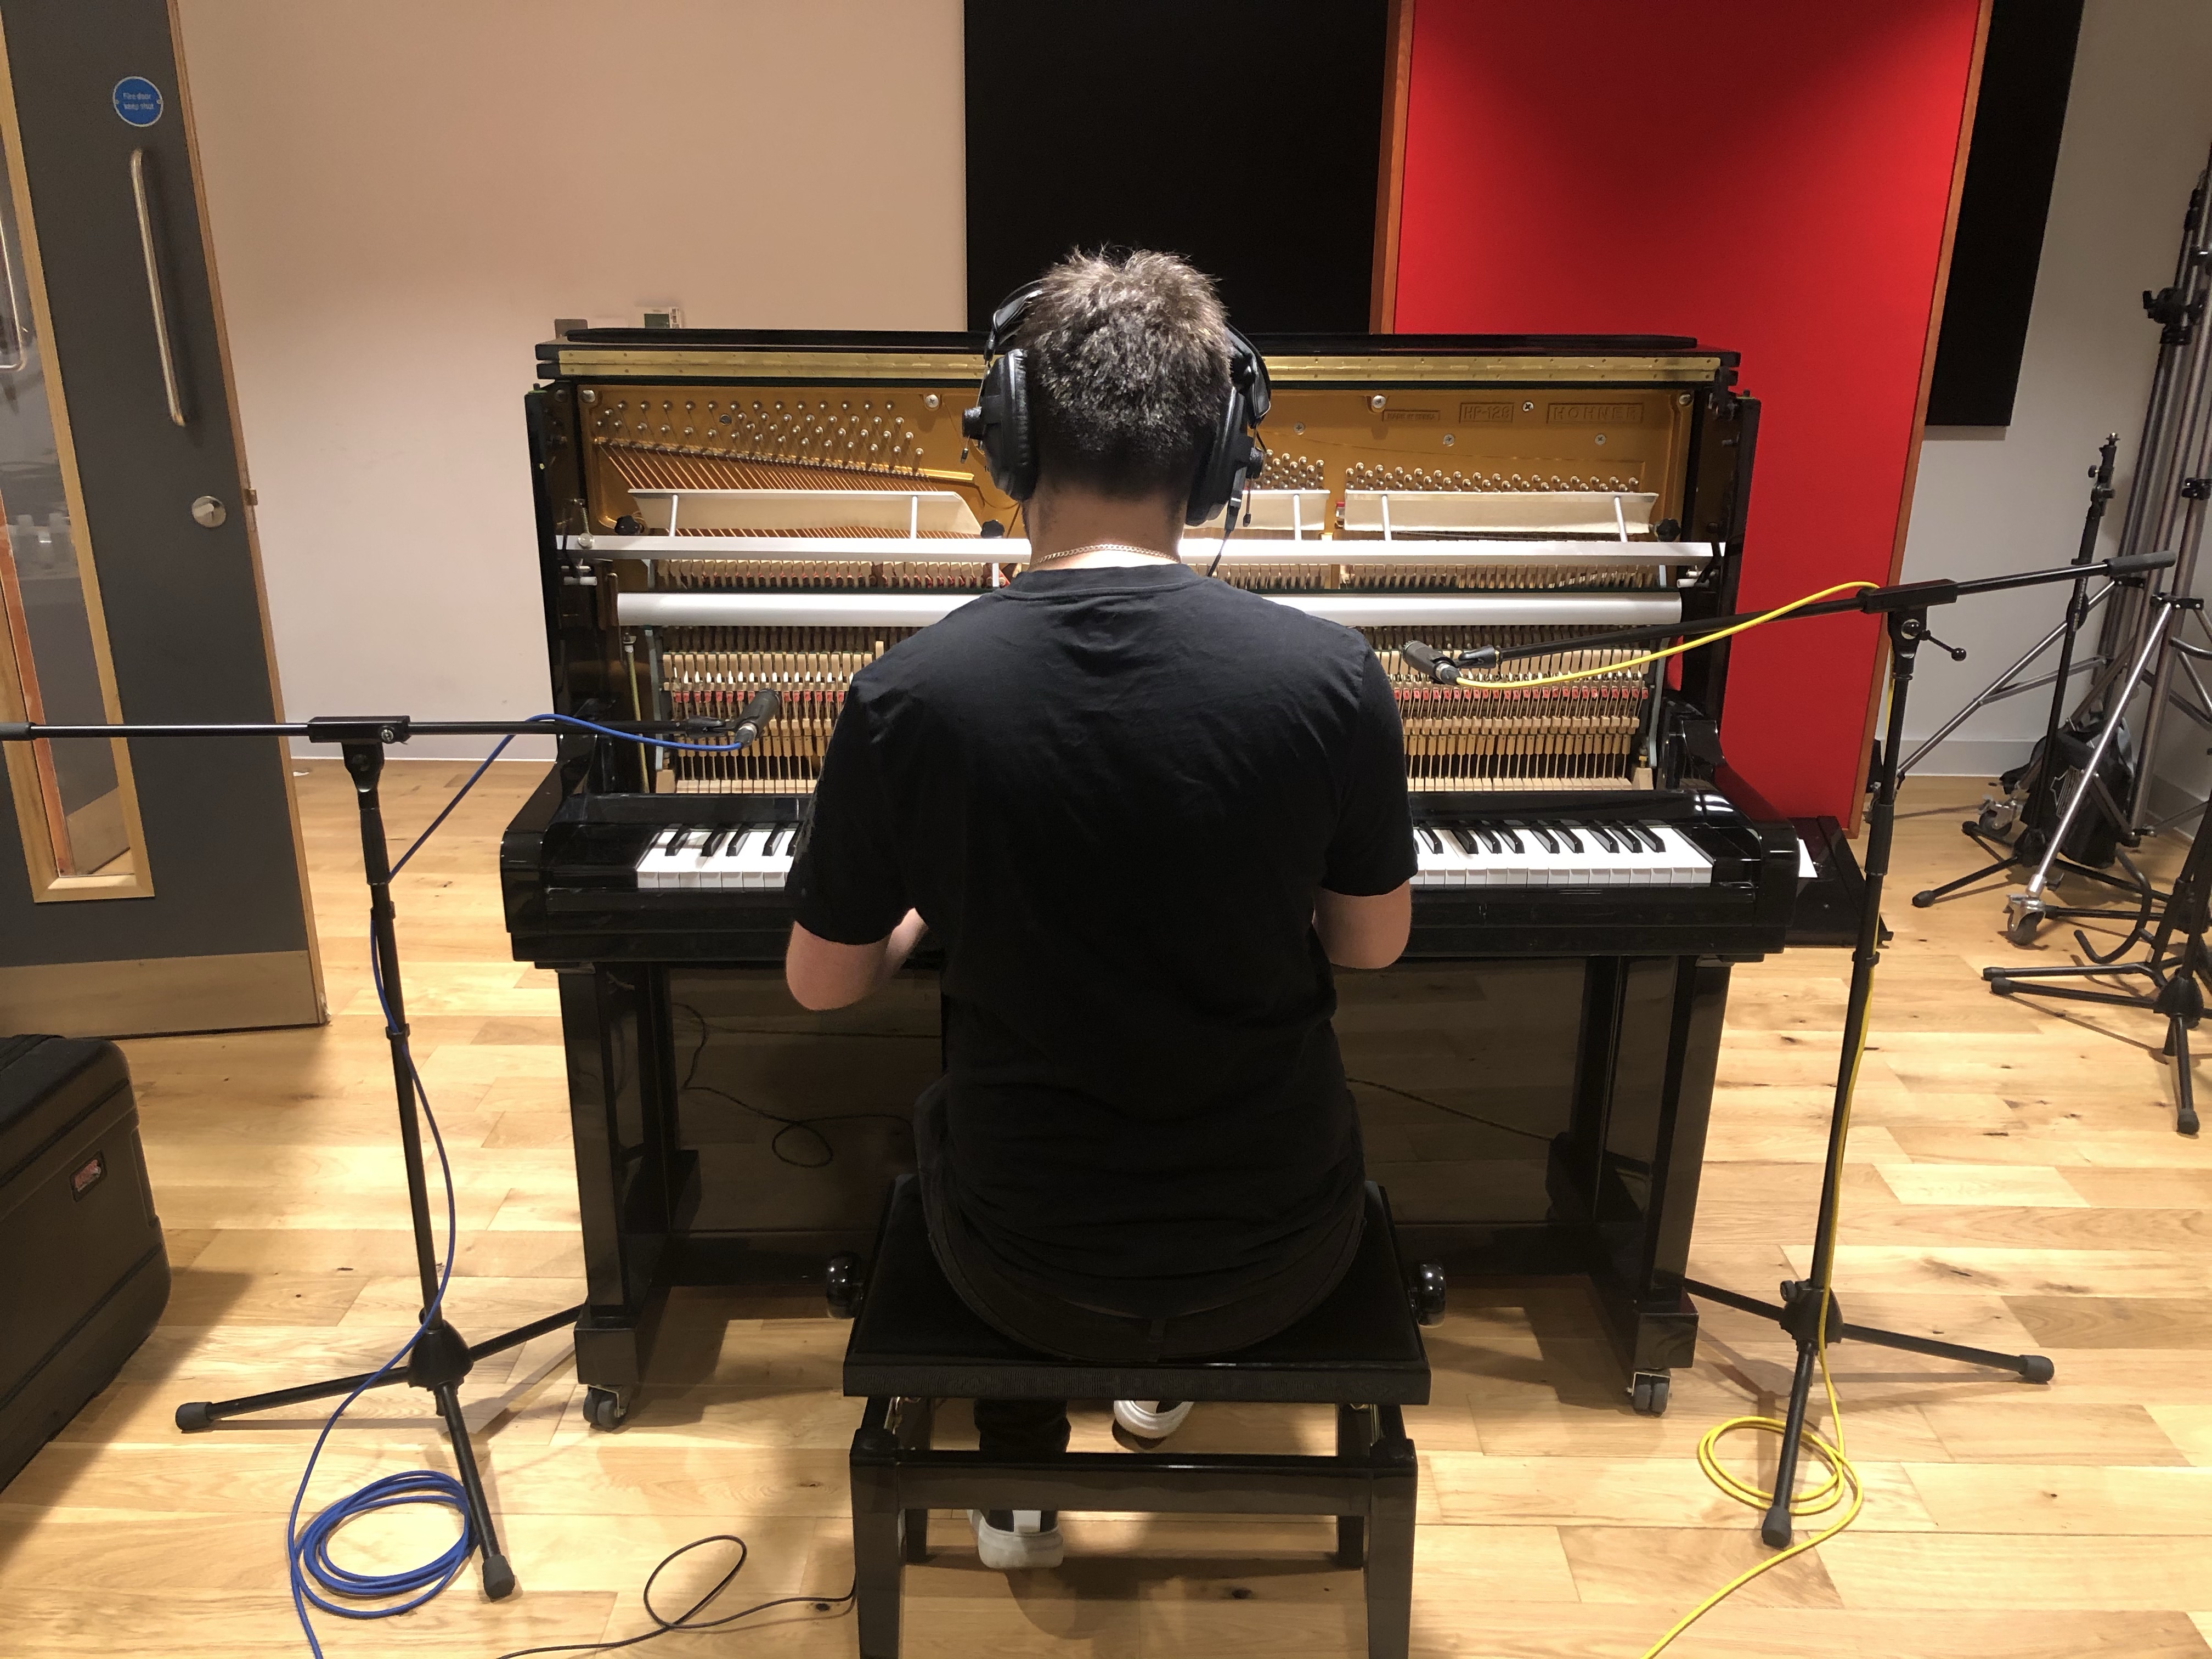
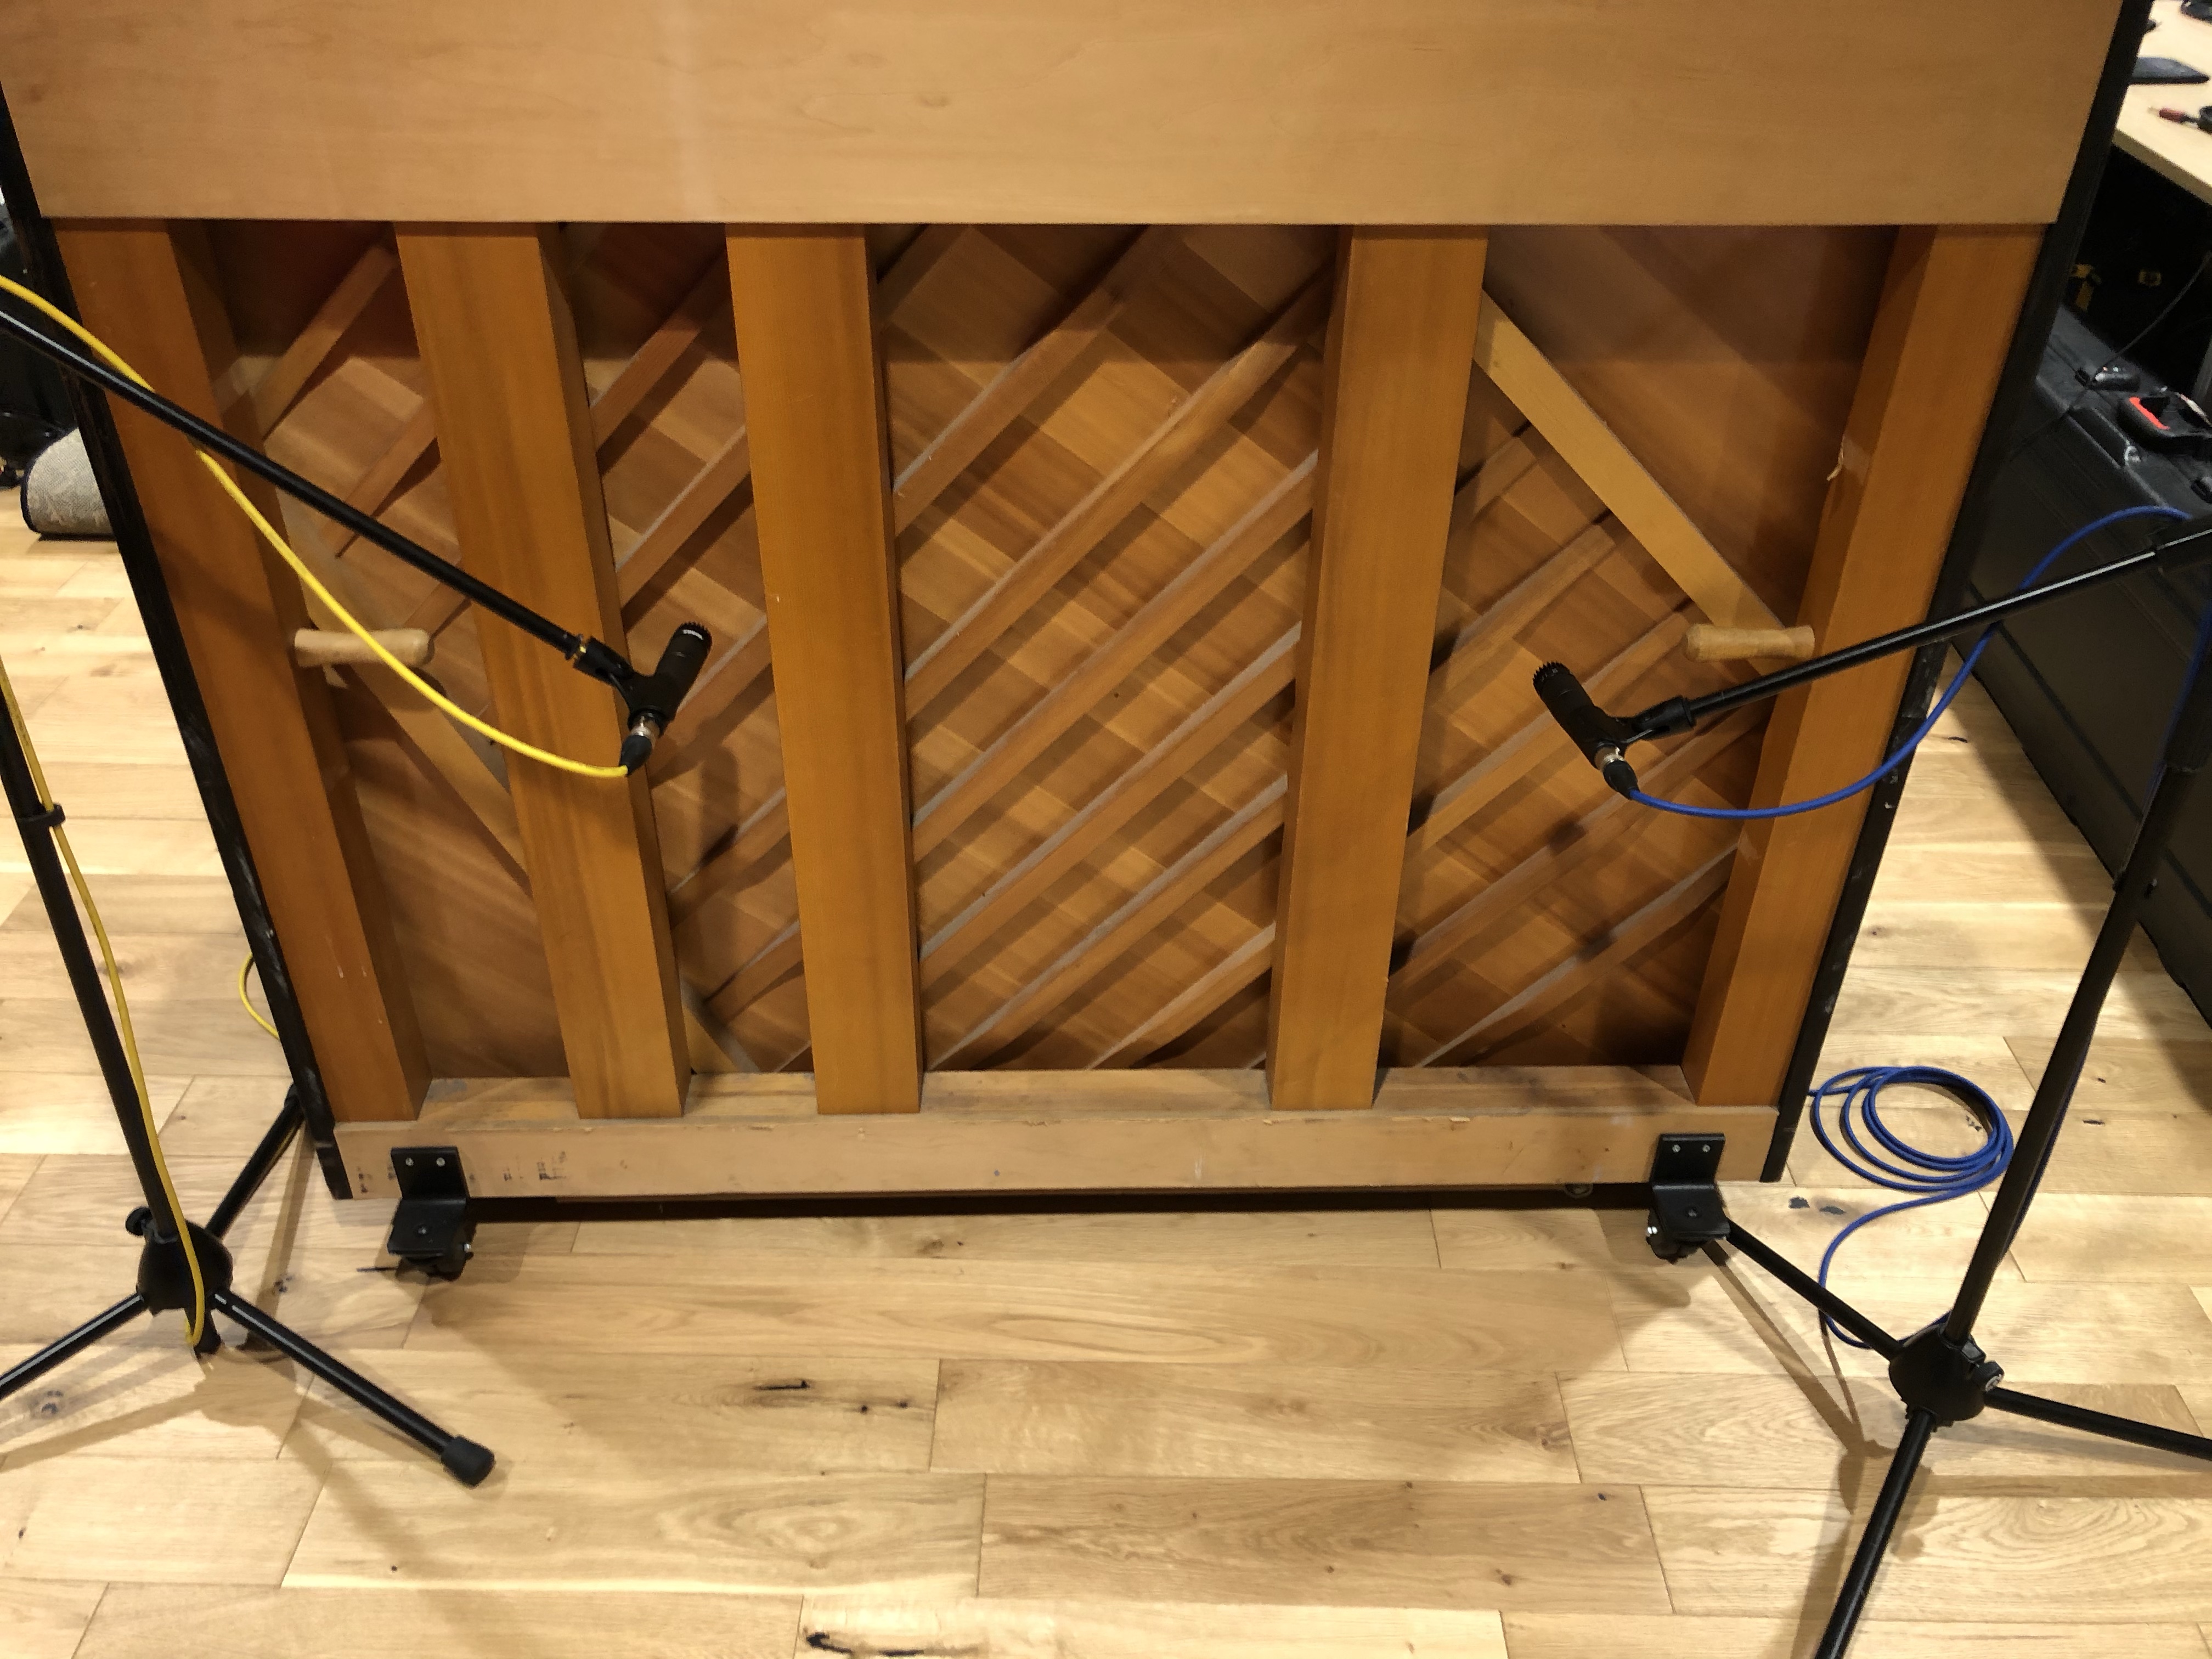
I recorded the Upright Piano using a standard A:B Microphone Method which when positioned right (minimal to none phasing issues) I can get a close representation of the the upright piano itself by panning the A microphone to the left and the B microphone to the right which mimics how it would sound to be positioned in front of the piano yourself. To create the tonal differences between each recording I decided that we should record the front which should record many higher frequencies and the back should record warmer, lower frequencies. I two used Shure-SM57 microphones to record with as we were recording quite an aggressive performance.
To record the electric guitar and bass, I thought it would be fine to record both simultaneously to give a more authentic sound in the recording but also to give some slight room ambience from the reflections that the microphones may capture. I decided to keep the bass as clean and simple as possible to allow the other two instruments to take priority in the final mix so I decided to use a close mic method which should capture a consistent and warm tone from the amplifier’s speaker. For recording the guitar I wanted to really capture the room ambience and also the strums from the pick to give a warmer timbre for the recording, I accomplished this by having the microphone be positioned around 5 inches from the neck of the guitar which allows for some reflections. To get a richer tonal quality from the second method, I setup the microphone close to the amplifier’s speaker which should capture more of the sound from the guitar and offering less room ambience to the recording because of how close the microphone is to the speaker.